Adding Resources Guide: Overview

Adding learning resources is a simple process. It’s basically a matter of telling TILE where the resources are located (the URL) and also configuring a handful of settings.
Click the next section to learn how.
Step-by-Step Instructions
Watch this video for a quick example of how to add an online resource in TILE Composer. You can also follow the Step-by-Step instructions below.
Step-by-Step Instructions
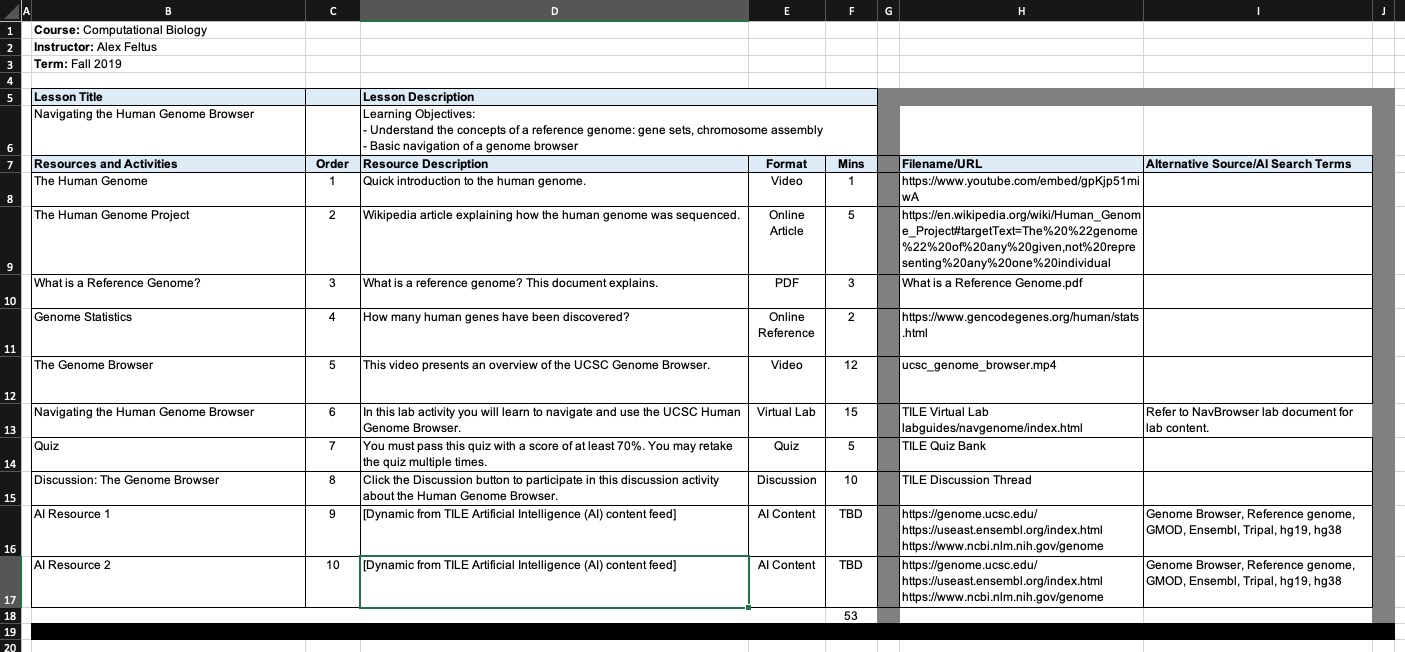
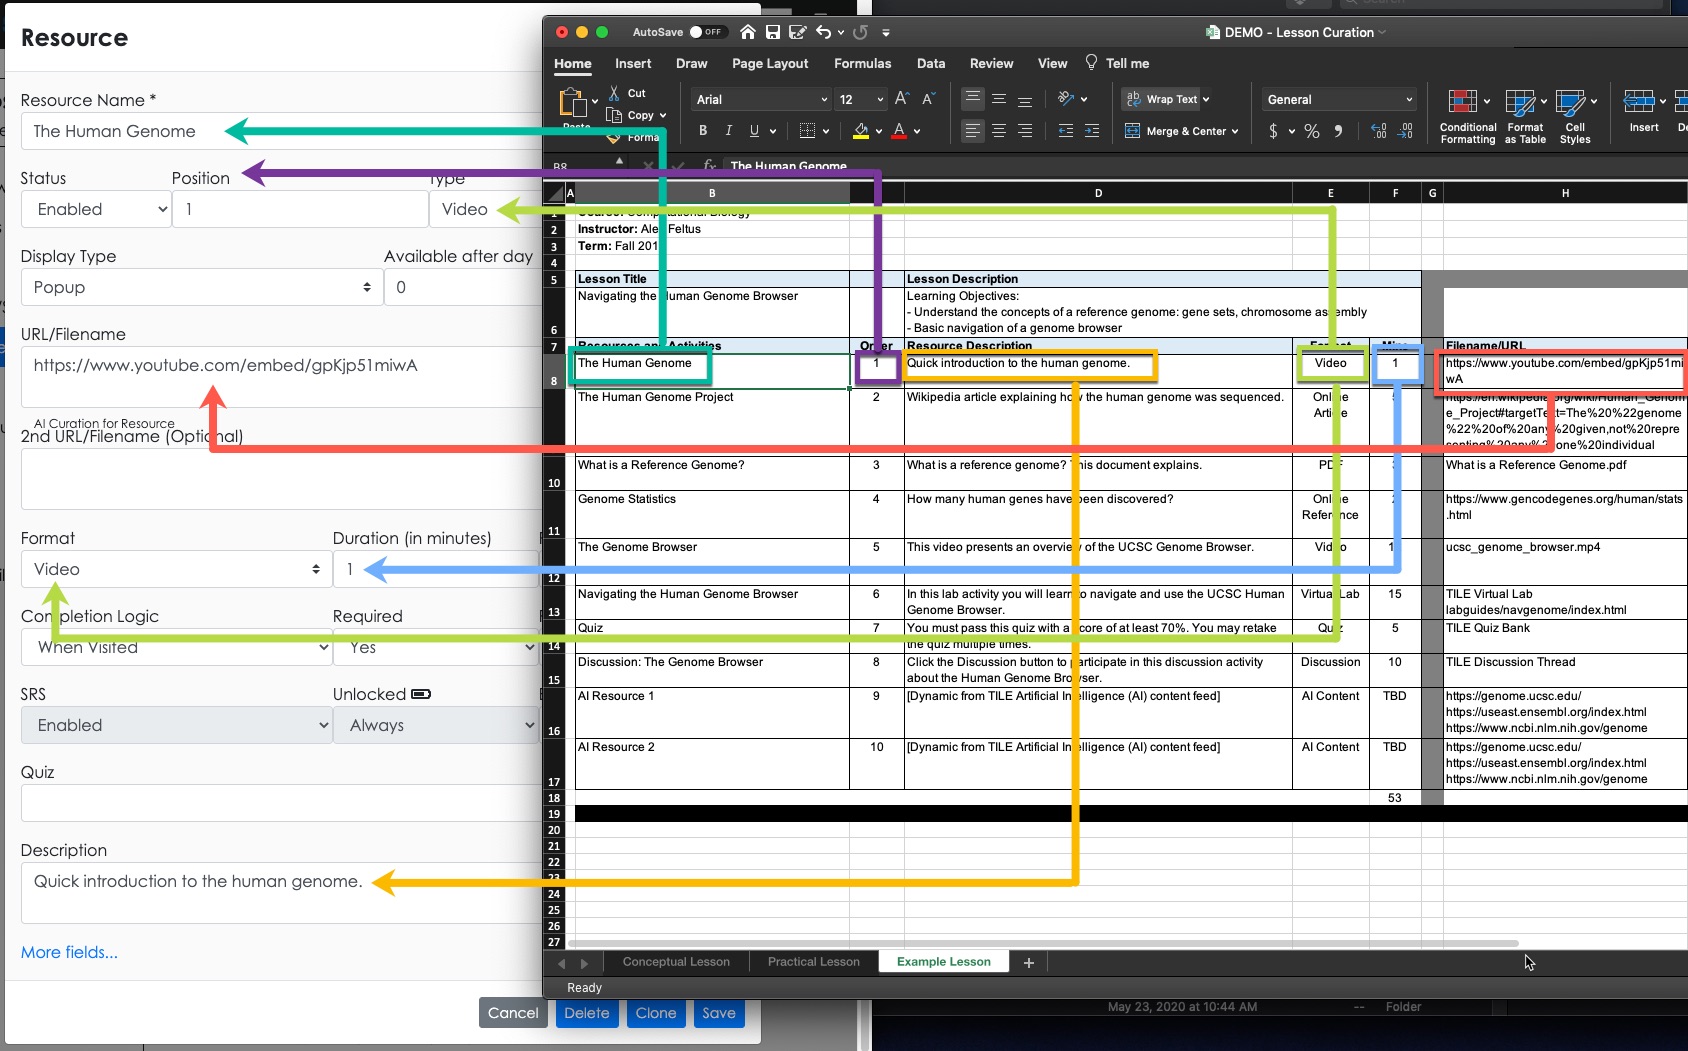
- Locate and open your Curation Design spreadsheet (and update it if necessary).
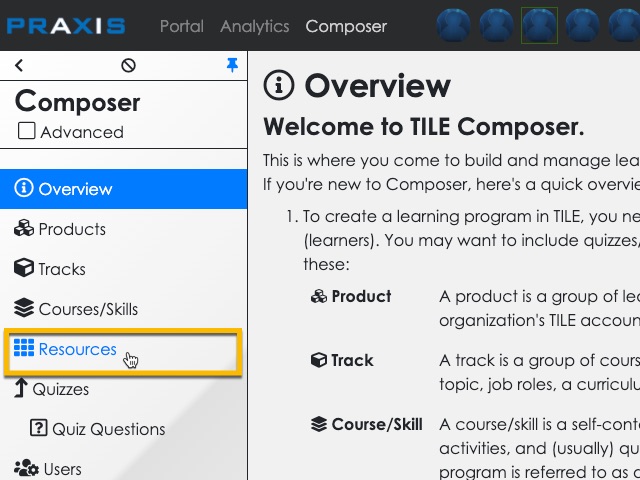
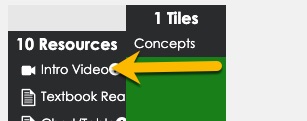
- Select the Resources option in the side menu.
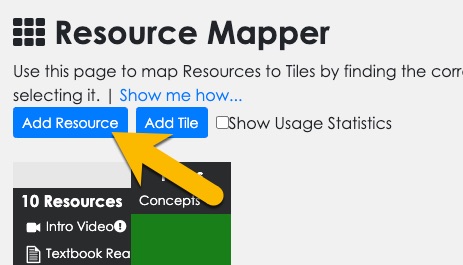
- The Resource Mapper page loads. Make sure it is the right page for your practice lesson/course by looking at the breadcrumbs at the top of the screen. If your lesson/course isn't displayed, click the last breadcrumb to open the course selection screen and then select your lesson.
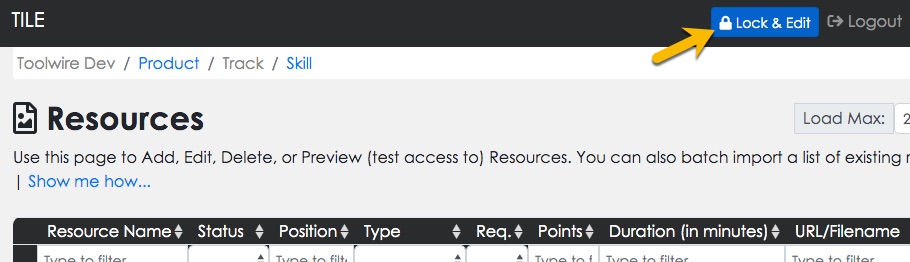
- Back on the Resource Mapper page, select Lock & Edit to activate the page for edits.
- Note that your practice lesson already includes “starter resources” for various formats (videos, textbook chapters, online articles, etc.). You can use these resources as a “headstart” or ignore them and add your own.
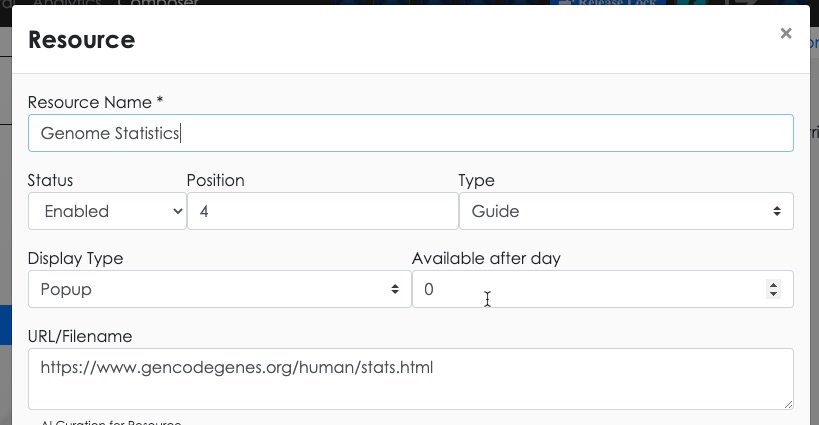
- Option 1: Edit Existing Resource. Just click on the name of the resource you want to update. (You will change its settings to match your own resource.)
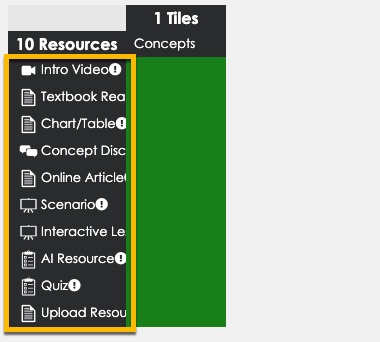
- Option 2: Add New Resource. Select the Add Resource button.
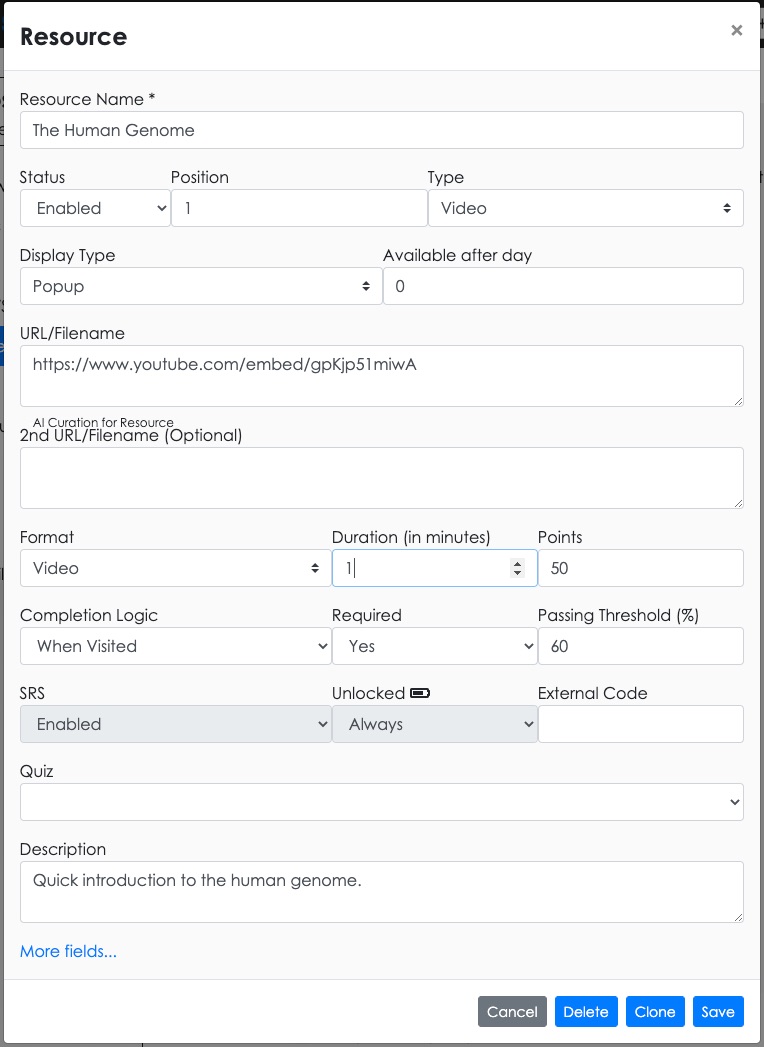
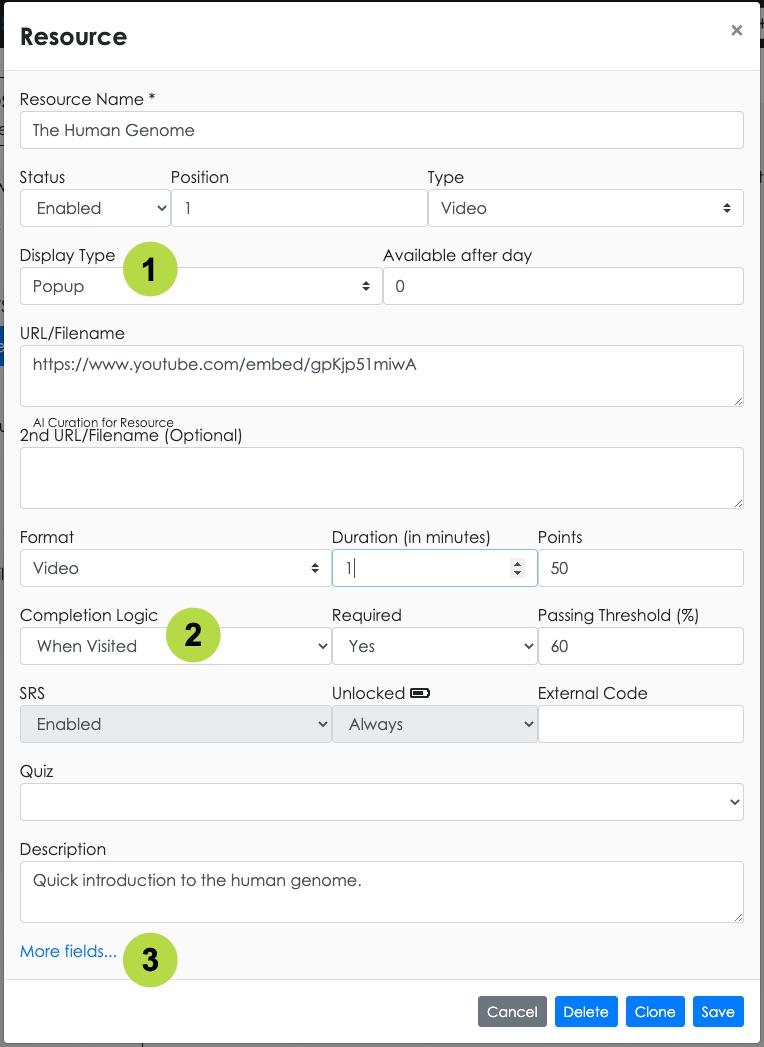
- The Resource settings panel opens.
- If you have a Curation Design spreadsheet, copy and paste the values/settings below. (NOTE: If you’re not using the spreadsheet, just enter the values directly.)
- Resource Name
- Position
- Type and Format
- URL/Filename
- Duration
- Description
- Set the Display Type to “Popup” if the resource is not owned by you or your organization (e.g., a YouTube video). If the resource content is your own, leave this setting as “iFrame.”
- Set the Completion Logic for your resource. Options include:
- When Visited - completed when opened
- User Confirms Completion - learner self-confirms when closing resource
- Proportional to Time on Task - completed when time spent in resource equals or exceeds the resource Duration
- Externally Scored - completion/scoring information returned by an integrated system, such as TILE’s video collaboration tool or your organization's LMS
- Completed by Quiz - only used for formal resource quizzes (completion/scoring determined by quiz result)
- Prompt and Notify Mentors - completion/scoring information set manually by mentors using the TILE video collaboration tool
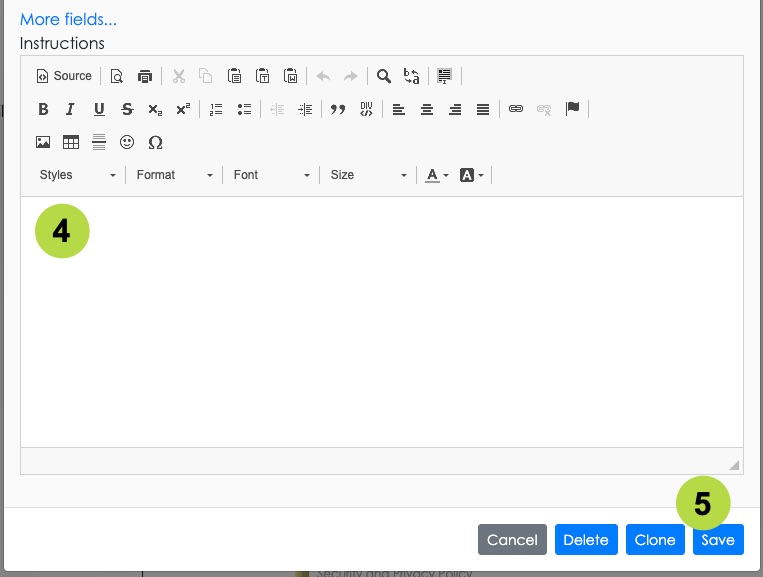
- Select the optional More fields link to expand the Resource settings panel.
- Enter additional Instructions if desired. This content will display to the learner in a pop-up window when they launch the resource. (NOTE: You can use the rich text editor to apply advanced formatting to the instruction content, add links, insert images, etc.)
- Select Save when you are ready.
- Repeat the previous steps for all of the additional resources in your Curation spreadsheet, even for resources that are not yet online (e.g., documents and videos that are on your own computer/device). You will upload these resources in the next lab tutorial, “Uploading Offline Resources.”
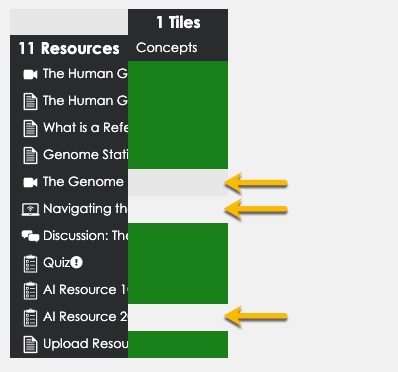
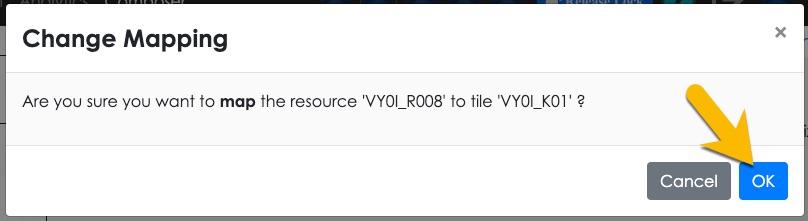
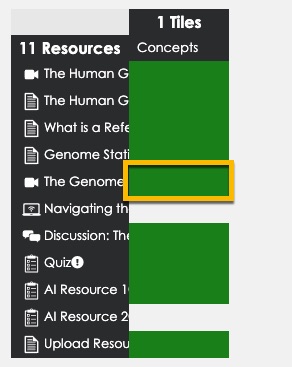
- When you are finished adding resources, some of them may not be “mapped” to the lesson (mapping a resource activates it so it will be displayed to the learner). Click the empty cell next to any unmapped resources to activate them.
- Click OK in the confirmation box. The resource is now activated.

 NOTE: You may have already added quizzes or other assessments to your practice lesson in the “Convert Your Assessments” skill. If so, you can leave these as they are or update the settings if you choose to.

 (back to top)