Group Project: Overview

There are two steps to create a “Group Project” activity in TILE Composer:
- Create the Group Project activity
- Map the activity to a lesson resource
Click each section below for step-by-step guidance.
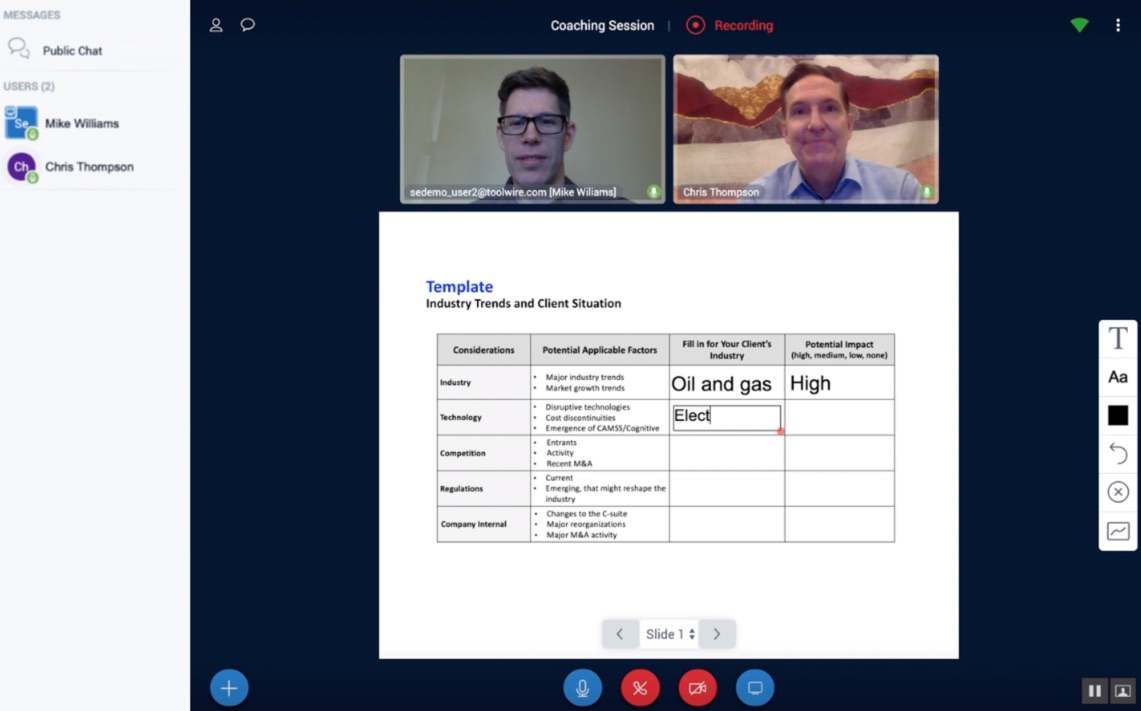 (Preview this activity type)
Step 1 - Create the Group Project Activity
Watch this video for a quick example of how to create the Group Project. You can also follow the Step-by-Step instructions below.
Step-by-Step Instructions
Access the Collaboration Admin Page
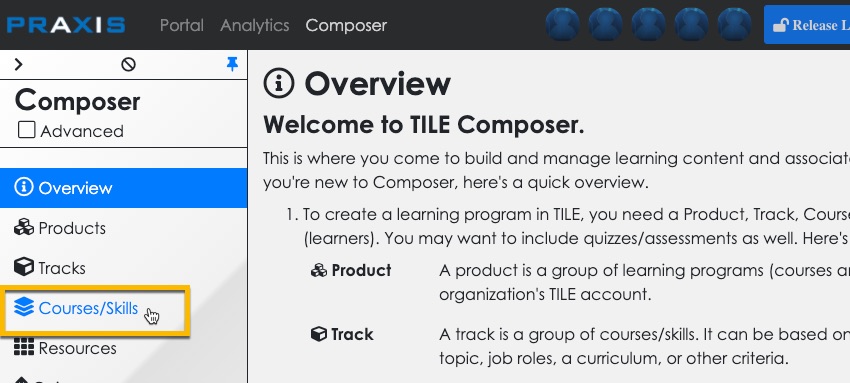
- Select the Courses/Skills option in the side menu.
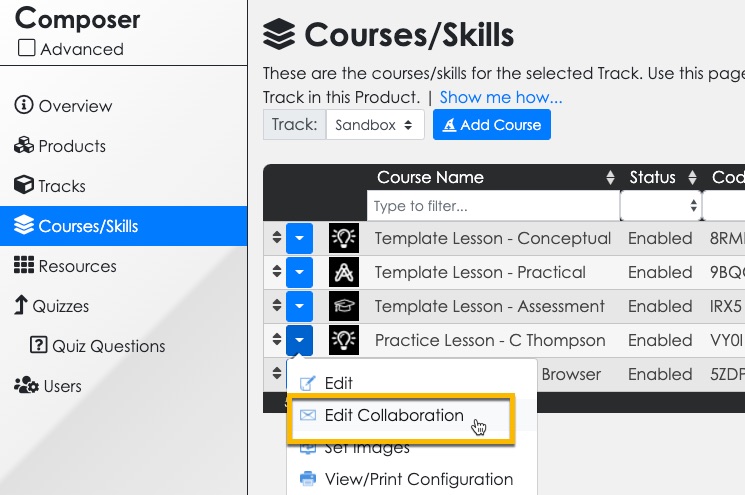
- Select the context menu for your practice lesson, and then select the Edit Collaboration option.
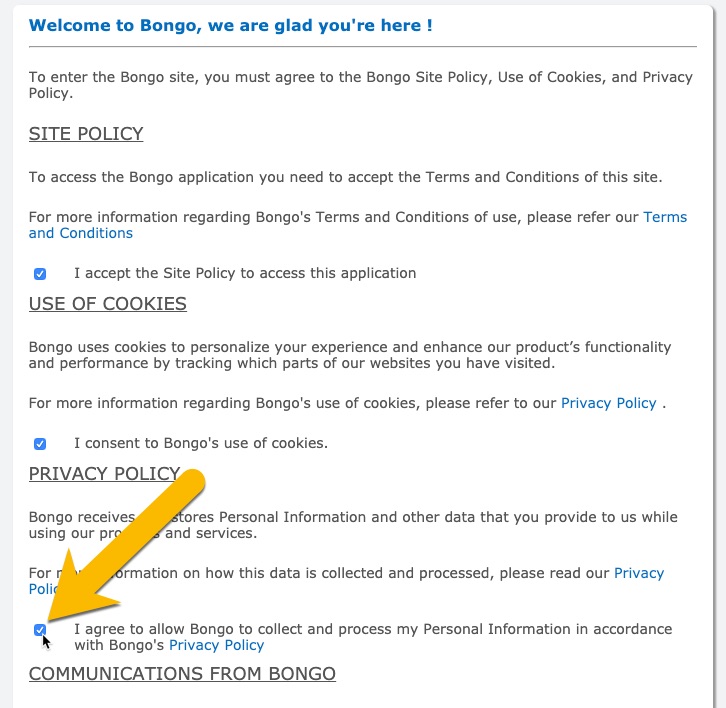
- (If this is your first time accessing the Collaboration Admin Page) select the “I agree…” checkbox to agree to the Bongo plugin terms of use. Then select OK at the bottom of the agreement.
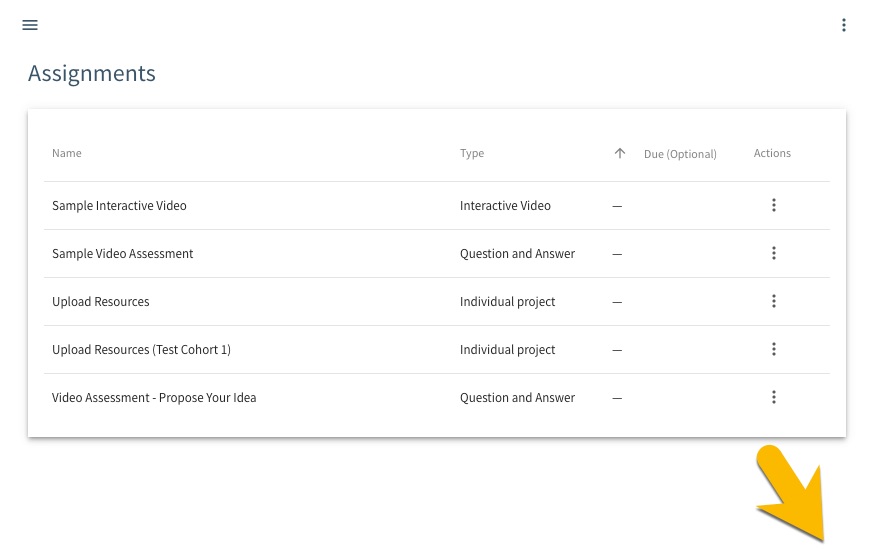
- The Collaboration Admin - "Assignments" page displays. Scroll down on the page for the next step.
Create Group Project
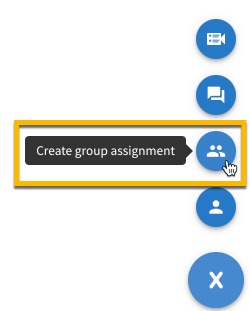
Select the ‘+’ icon at the bottom right corner of the page and then select the ‘group’ icon to ‘Create question & answer assignment.’
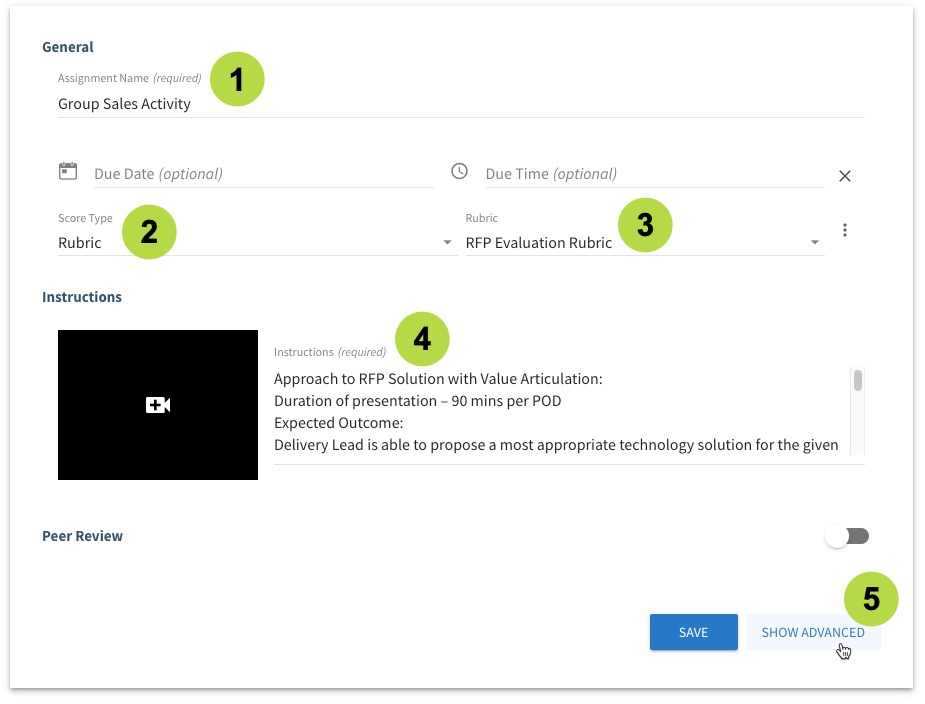
- The Create Group Assignment panel opens. Give your activity a name.
- Select a Score Type in the drop-down menu. If you’re using a rubric, select the ‘Rubric’ option. (Other options for a formal assessment include Percentage and Pass/Fail.)
- If you’re using a rubric, select the rubric you created in the Rubric drop-down menu. (If you haven’t created a rubric yet, refer to Step 1 in this tab.)
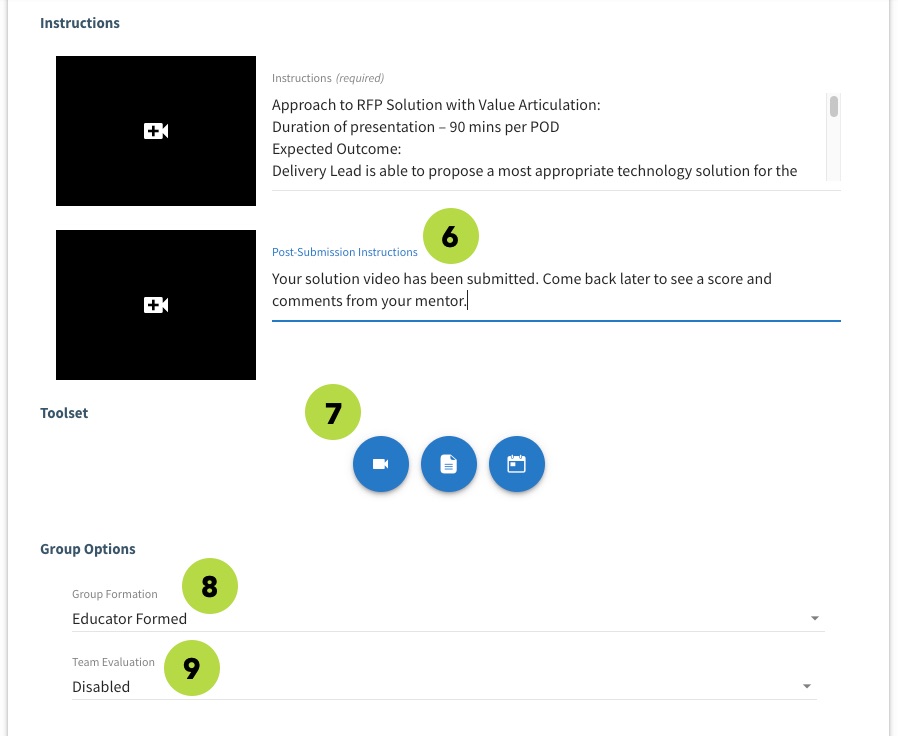
- Write Instructions for the activity. (You have the option to record or upload a video here as well.)
- Select the SHOW ADVANCED button at the bottom right corner of the panel.
- Enter Post-Submission Instructions for the learner to follow.
- Select the user Toolset you want to allow for the activity. By default the ‘Video,’ ‘Documents,’ and ‘Meetings’ options are enabled. You can require one or more of these to be submitted as part of the activity, based on your rubric. (NOTE: learners can submit group video recordings using the “Combined Video” option in the Video tool, or using the recording feature in the Meetings tool.) For more information about the Toolset features and capabilities, refer to this guide.
- Select the Group Formation option you want to use for setting up the learner groups. By default, group formation is “Educator Formed”, which allows you to create groups manually. You also have the option to allow learners to choose their own groups or have the system create groups based on availability. Refer to this guide for more information.
- Leave the Team Evaluation option as disabled, unless you want your learners to rate the performance of their group peers.
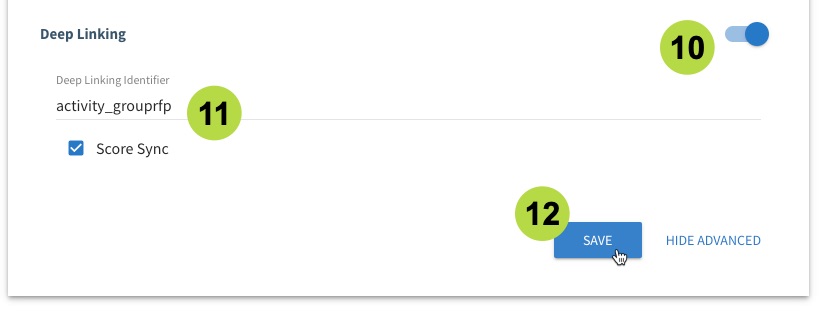
- Select the Deep Linking toggle to enable it.
- Enter a Deep Linking Identifier for the activity, then select the Score Sync checkbox. IMPORTANT: The “Deep Linking Identifier” is the ID that will link the activity to a resource instance in the course. Copy this ID for Step 2 – Map Activity to a Lesson Resource. (The ID should be all lower case without spaces.)
- Select Save when you are finished configuring the activity.
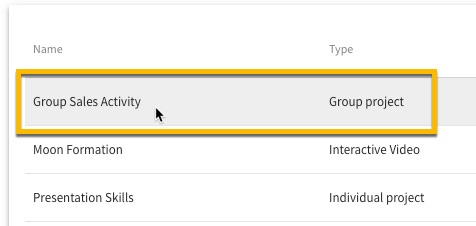
Your new activity is displayed in the Assignment list. You’re almost done!
 (back to top)
Step 2 - Map Activity to a Lesson Resource
Your activity is all set up, but there's one last step. You need to map it to a resource so your learners will be able to see and access it. Watch this video for a quick example of how to map a Group Project activity to a resource. You can also follow the Step-by-Step instructions below.
Step-by-Step Instructions
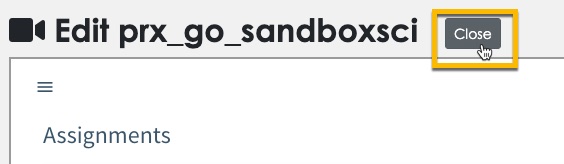
- Select the Close button at the top of the Collaboration Admin Page.
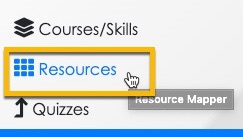
- Select the Resources option in the side menu.
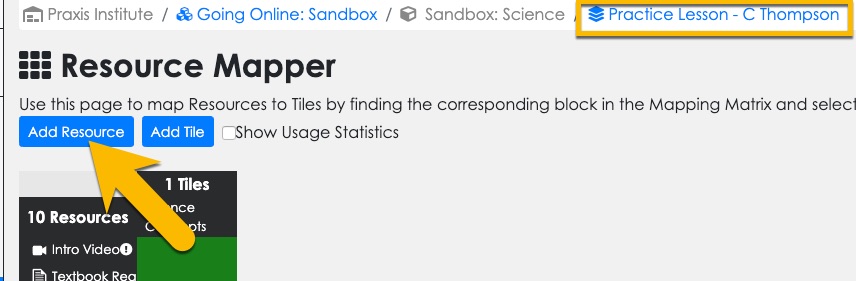
- The Resource Mapper page loads. Make sure it is the right page for your practice lesson/course by looking at the breadcrumbs at the top of the screen. If your lesson/course isn't displayed, click the last breadcrumb to open the course selection screen and then select your lesson. Then select the Add Resource button.
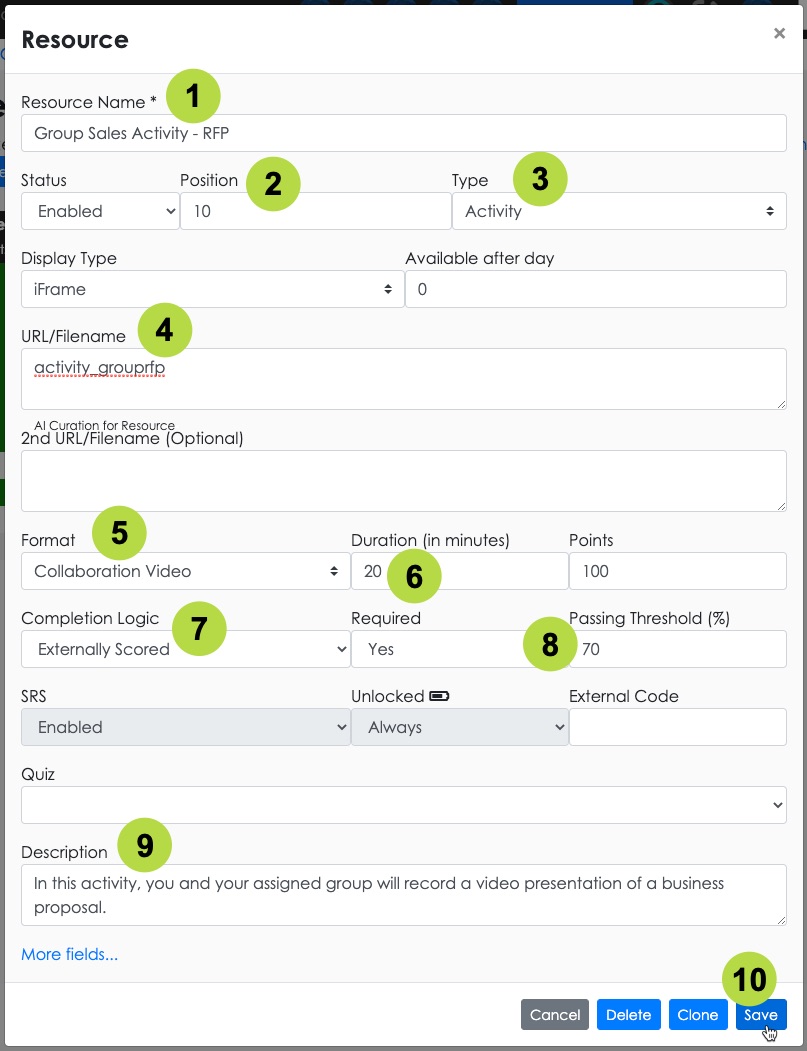
- The Resource settings panel opens. Give your activity a name.
- Set the Position for the activity so it displays in the right order in the lesson.
- Set the Resource Type to "Activity."
- Enter the “Deep Linking Identifier” ID from Step 1 into the URL/Filename field.
- Set the Resource Format to "Collaboration Video."
- Set the Duration for the activity.
- Set the Completion Logic to "Externally Scored."
- Set the Passing Threshold for the activity.
- Enter a brief Description of the activity. Learners will see this description in the course interface.
- Select Save when you are ready.
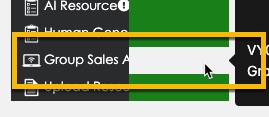
- The activity appears in the resource list, but is not yet mapped. Click the empty cell next to the activity name to activate it.
- Click OK in the confirmation box. The activity is now enabled and ready for your learners!
Check Learner Access to Activity
Follow the steps below to check the appearance and behavior of the Group Project activity to learners.
Step-by-Step Instructions
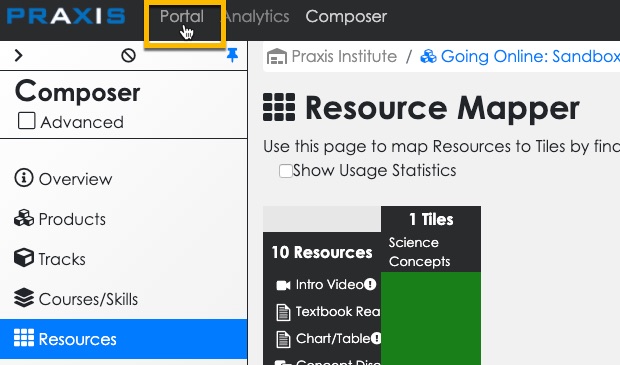
- Exit Composer by selecting the Portal option at the top of the screen.
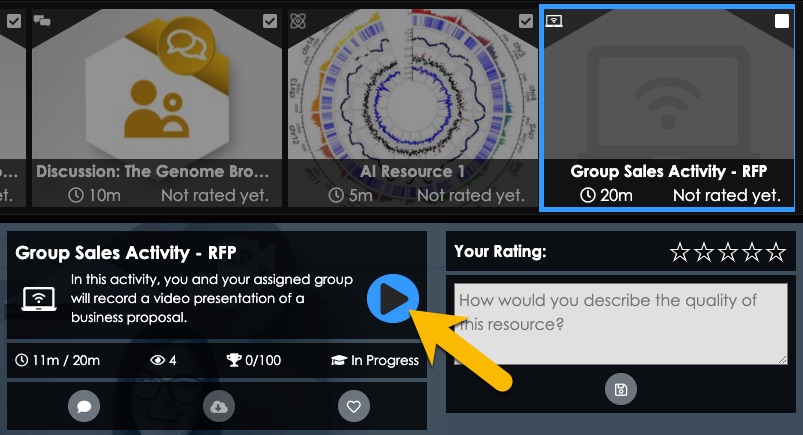
- Locate and select your activity in the interface. Then click the Play button to launch it.
- Go through the group activity as a learner would and check on wording, appearance, behavior, etc. Then revise your activity settings if necessary.
More Info
Click here for more information about how to use the Group Project video activity type.