Additional Resource Options Guide: Overview

This guide covers the following advanced options for configuring resources and how your learners interact with them. Select the associated section in this guide for step-by-step guidance.
- Re-order, Disable, or Delete a resource
- Set a thumbnail image for a resource
- Advanced resource settings
Click the next section to learn how.
Re-order, Disable, or Delete
Watch this video to learn how to re-order, disable, or delete a resource. You can also follow the Step-by-Step instructions below.
Step-by-Step Instructions
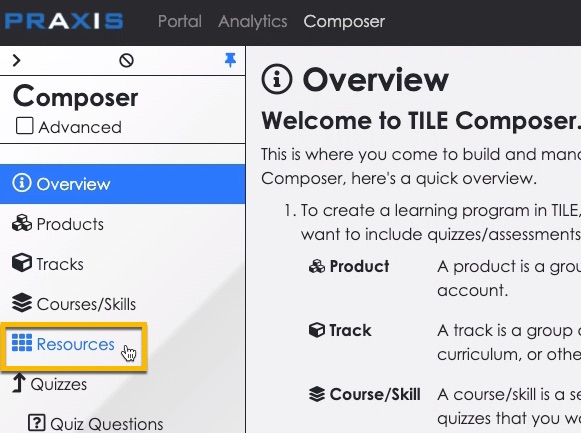
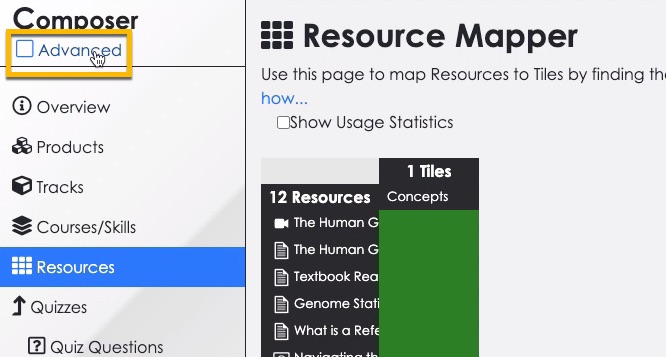
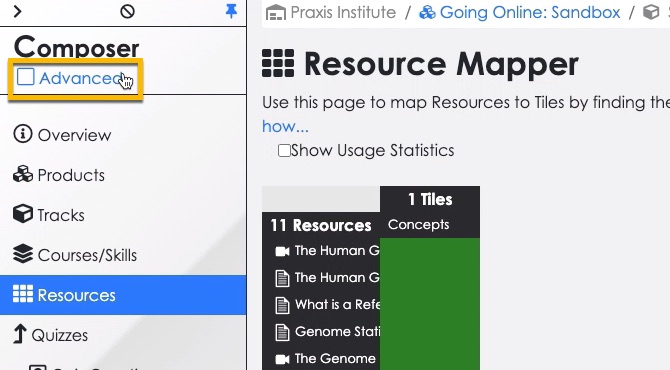
- Select Resources in the side menu, and then select the Advanced checkbox.
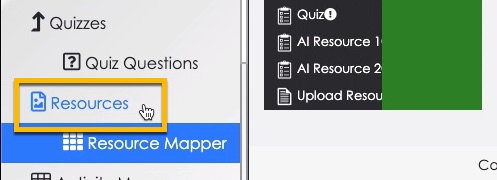
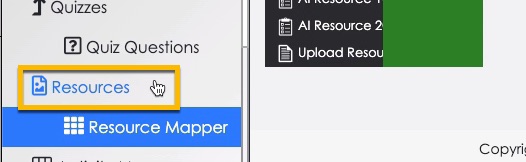
- Select Resources in the side menu again.
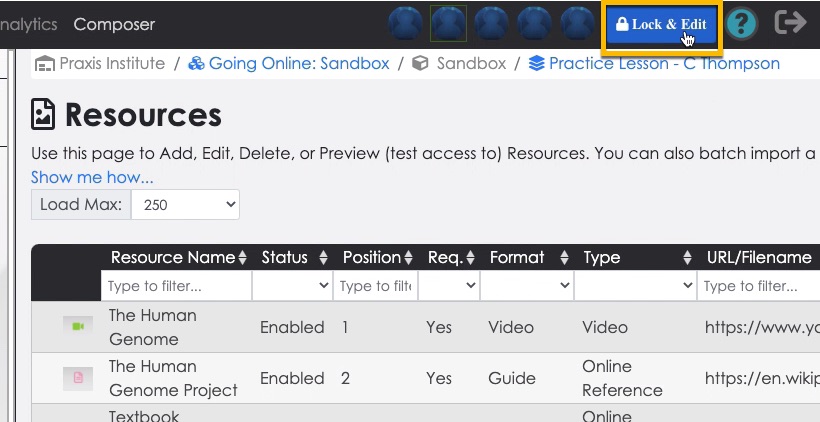
- The advanced Resources page opens. Select the Lock & Edit button.
Re-order a Resource
This action allows you to change the order in which resources appear to your learners.
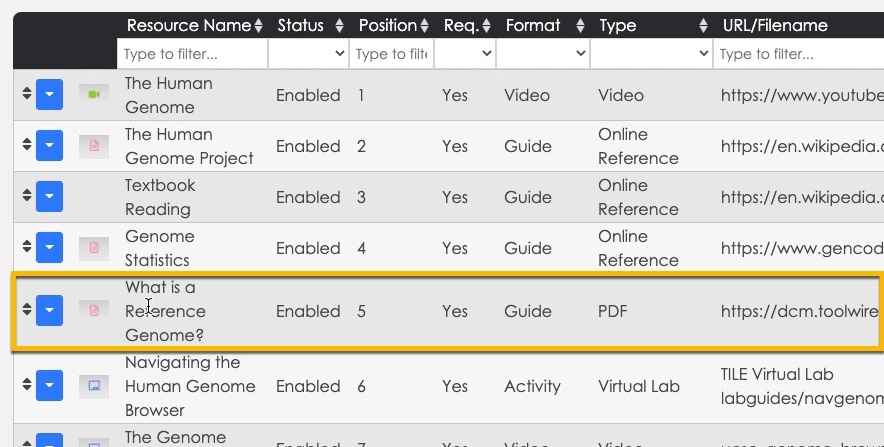
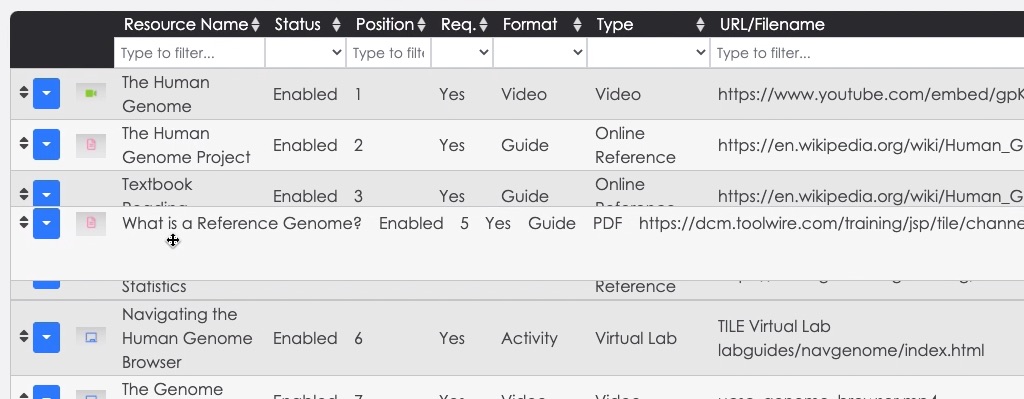
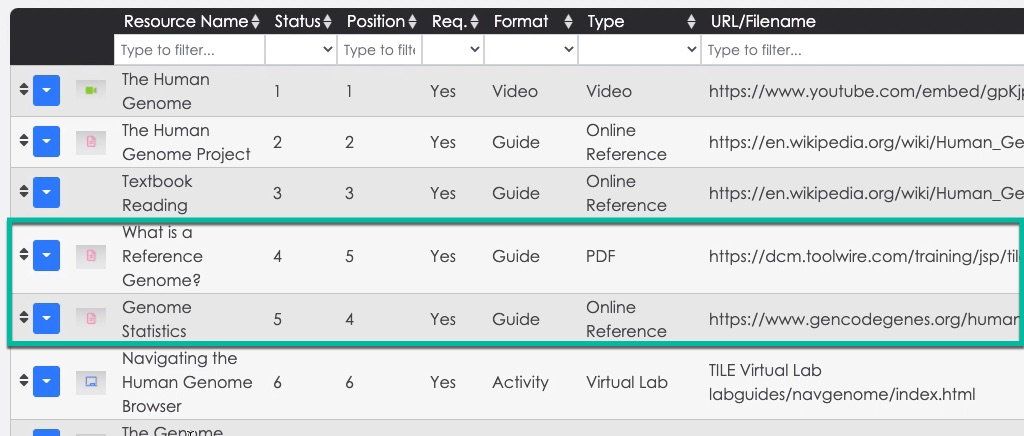
- Click on the resource you want to move in the resource list (and hold your mouse button down after clicking). Drag the resource up or down to a new position in the order and release your mouse button.
- The resource stays in its new position.
Disable a Resource
This action allows you to “hide” a resource from your learners, without deleting it.
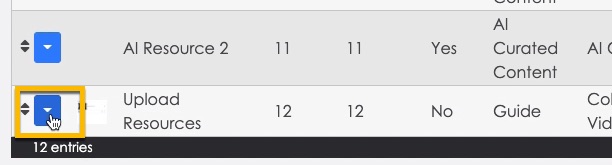
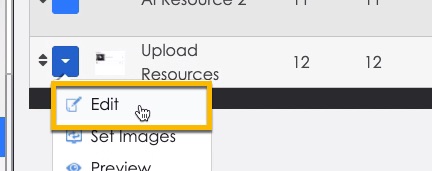
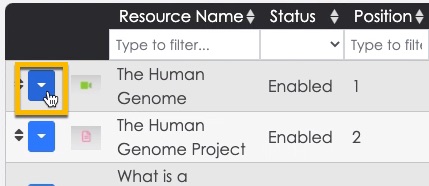
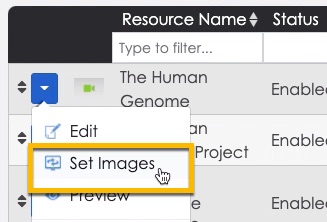
- Click on the context menu for the resource you want to disable. Then select Edit.
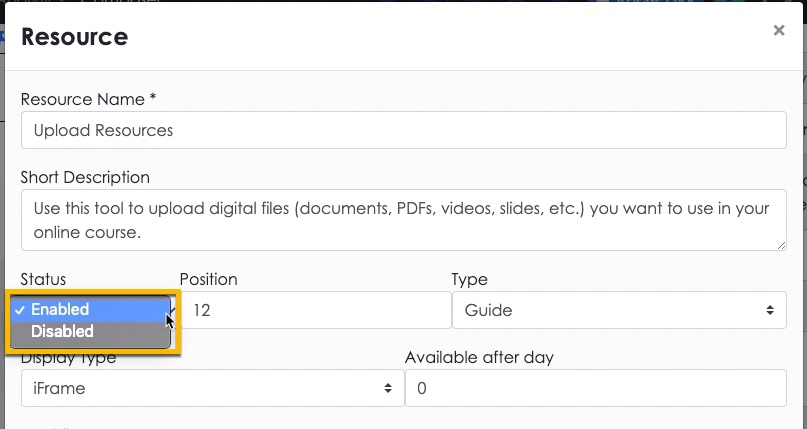
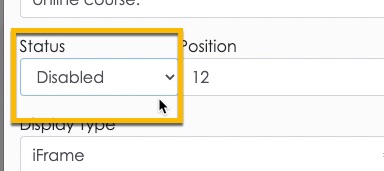
- Select the Status drop-down field and then select the Disabled option.
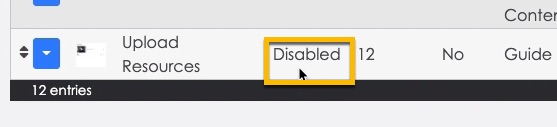
- The resource is now disabled.
Delete a Resource
This action deletes a resource from your lesson/course.
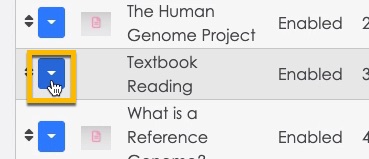
- Select the context menu for the resource you want to delete.
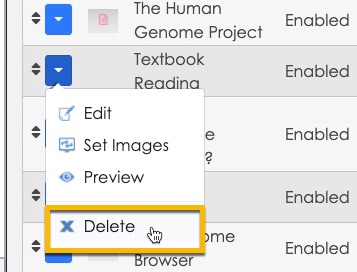
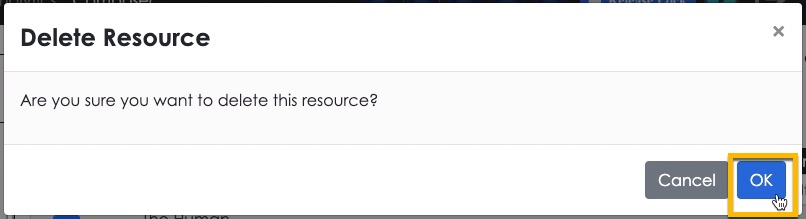
- Select the Delete option. Then select OK in the confirmation box.
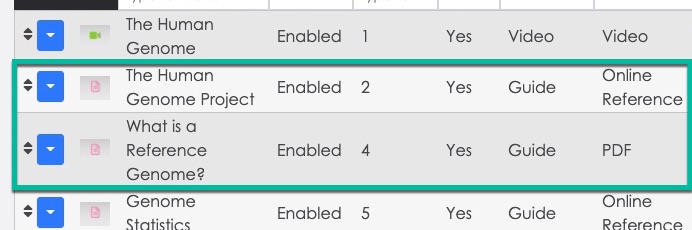
- The resource is now deleted.
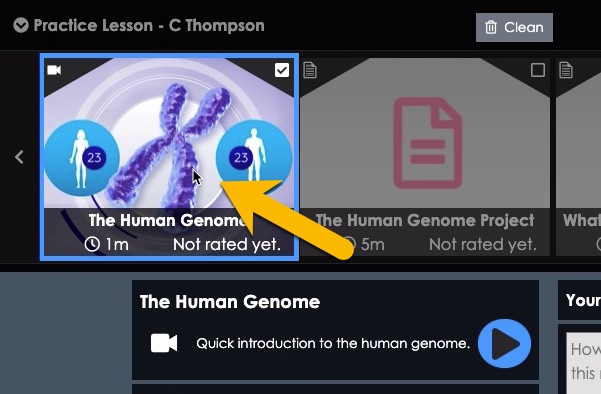
Set a Thumbnail Image
“Thumbnail” images are displayed to the learners in the Resource Carousel, representing each resource to your learners. Watch this video to learn how to assign a custom thumbnail image for a resource. You can also follow the Step-by-Step instructions below.
Step-by-Step Instructions
- Select the Advanced checkbox in the side menu (if not already selected). Then select Resources in the side menu.
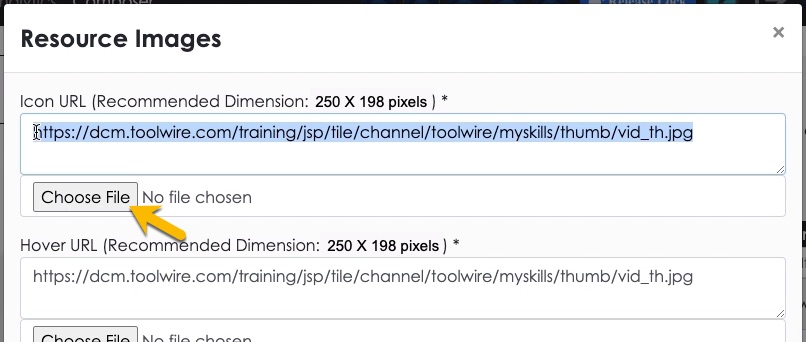
- Select the context menu for the resource you want to assign a custom thumbnail image to. Then select Set Images.
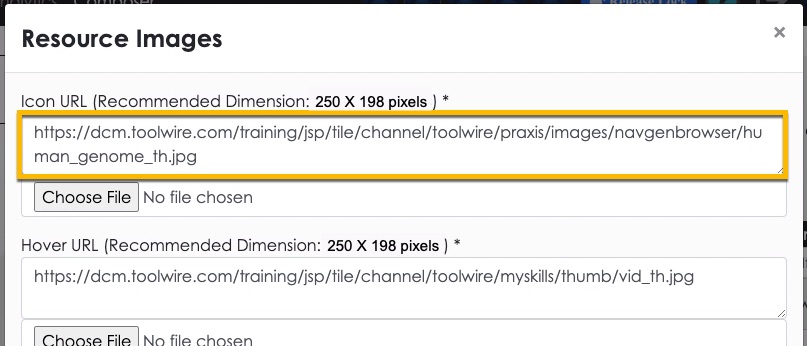
- The Resource Images panel opens. Replace the existing Icon URL (if there is one) with the URL for your custom image. Or, click the Choose File button and follow the prompts to select an image on your computer/device. (NOTE: the recommended image size for resource thumbnail images is 250 pixels wide by 198 pixels high.)
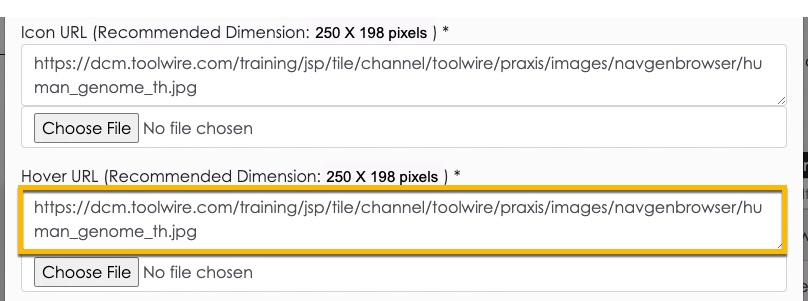
- (Optional) Follow the same process as the previous step to replace the Hover URL (this only affects what you see in TILE Composer and does not affect what the learner sees).
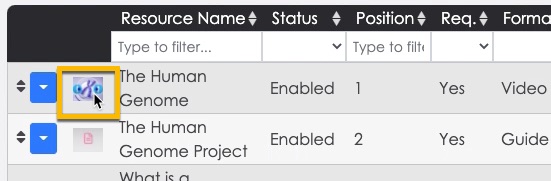
- The resource image is updated in Composer.
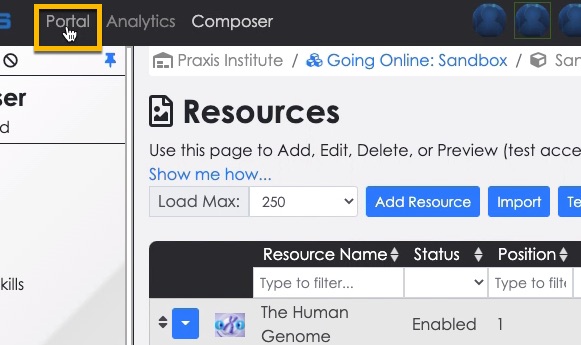
- To see the updated resource image in your lesson/course, select Portal at the top of the screen. Then locate the updated image in the Resource Carousel.
Advanced Resource Settings
Here’s some more information on the options for certain Resource settings and what they mean.
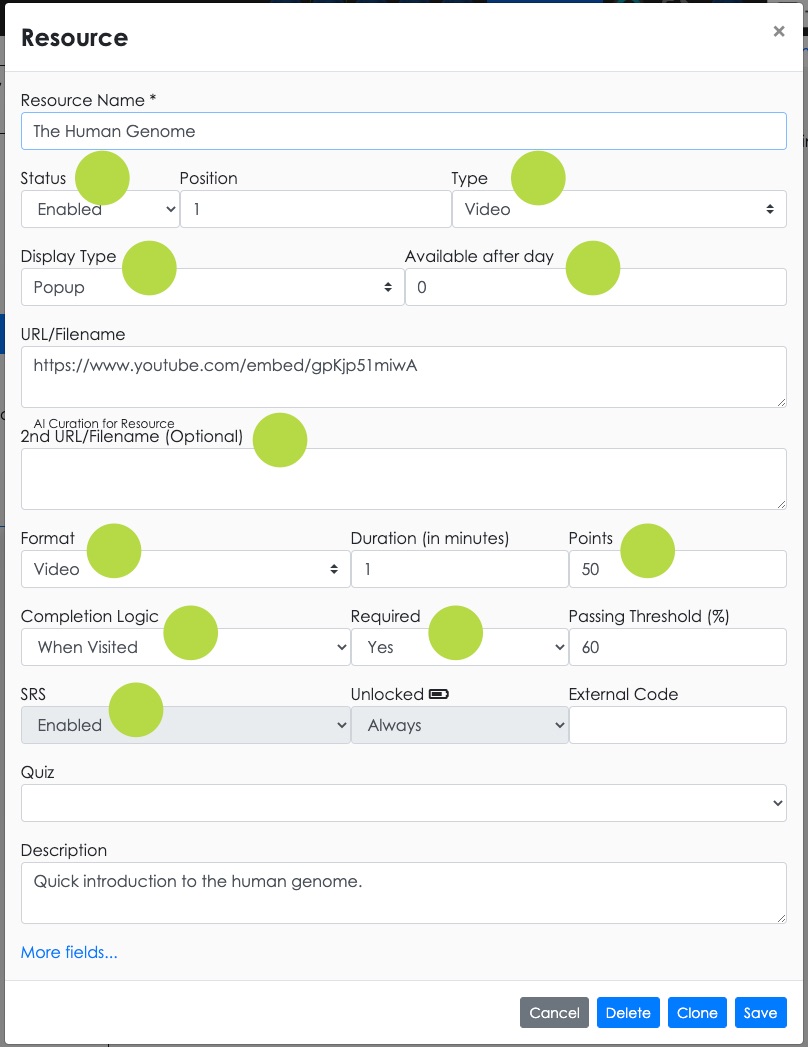
Status
By default the resource Status is set to 'Enabled,' which makes it visible in the Course/Skill. Change to 'Disabled' if you want the resource to be hidden.
Type
This indicates to the learner the type, or function, of the resource or activity. It’s important to select the correct type, because this setting impacts the behavior of the resource. (e.g. selecting“AI Curated Content” activates the TILE AI engine, selecting “Quiz” activates the TILE assessment engine, and so on.)
- AI Curated Content - dynamic content using TILE's AI engine
- Activity - interactive simulations, practice labs, and collaboration videos
- Discussion - activities focused on discussion threads
- Guide - static resources such as articles and step-by-step tutorials
- Lesson - interactive tutorials and eLearning modules
- Quiz – knowledge checks and quizzes
- Video - non-interactive videos
Display Type
The Display Type affects how the resource opens. Options include:
- HTML5 - displays the Instructions field for the resource as an HTML page to the learner. (NOTE: this is the best option for creating a text-based resource directly in TILE.)
- PDF - opens PDF resources located on TILE media server
- Popup - opens resource in a new browser tab (recommended for external content that is not owned by your organization)
- Video - opens video resources located on TILE media server
- iFrame - opens resource within TILE UI (recommended for content owned by or licensed to your organization)
Available after day
If you don’t want a resource to be available to the learners right away, but sometime later during the course, you can enter a delay in this field (in days).
2nd URL/Filename [Optional]
Ignore this field.
Format
This indicates to the learner the format they can expect to see when they open the resource (e.g., a video, PDF, quiz, virtual lab, etc.). Most of the options for this field do NOT affect the behavior of the resource. The options below DO affect resource behavior and should be set accordingly:
- AI Collection - enables the resource to use AI-powered curation
- Collaboration Video - enables the resource to use video-based collaboration and assessment capabilities
- Collaborative Virtual Lab - enables the resource to use group collaboration functionality in association with a virtual lab (i.e., a ‘Group Project’ collaboration activity can be attached to a virtual lab)
- PDF - displays the resource in PDF format
- Quiz - enables the resource to use TILE’s assessment engine
- Video – displays the resource in video format
- Virtual Lab - activates the virtual lab image for the course and enables the lab guide
Points
Enter the number of Points to award to the learner for completing the resource. You can leave this at the default value of 50, or change the value according to a resource’s difficulty level or time requirement.
Completion Logic
Select the Completion Logic for your resource. Options include:
- When Visited - completed when opened
- User Confirms Completion - learner self-confirms when closing resource
- Proportional to Time on Task - completed when time spent in resource equals or exceeds the resource Duration
- Externally Scored - completion/scoring information returned by an integrated system, such as your organization's LMS
- Completed by Quiz - only used for formal resource quizzes (completion/scoring determined by quiz result)
- Prompt and Notify Mentors – completion/scoring information set manually by mentors using the TILE video collaboration tool
Required
Leave Required set to 'Yes,' unless the resource is optional.
SRS, Unlocked, External Code
Ignore these settings.
(back to top)