Add Virtual Lab: Overview

Virtual labs generally require some development assistance from the TILE team or other developers. So for each lab, you can follow a three-step process:
- Document lab content and requirements.
- Create a resource for the virtual lab in your practice lesson/course.
- Create a lab guide with the "How to Create a Lab Guide" document and the My Content tool in TILE Composer.
Click each section below for step-by-step guidance.
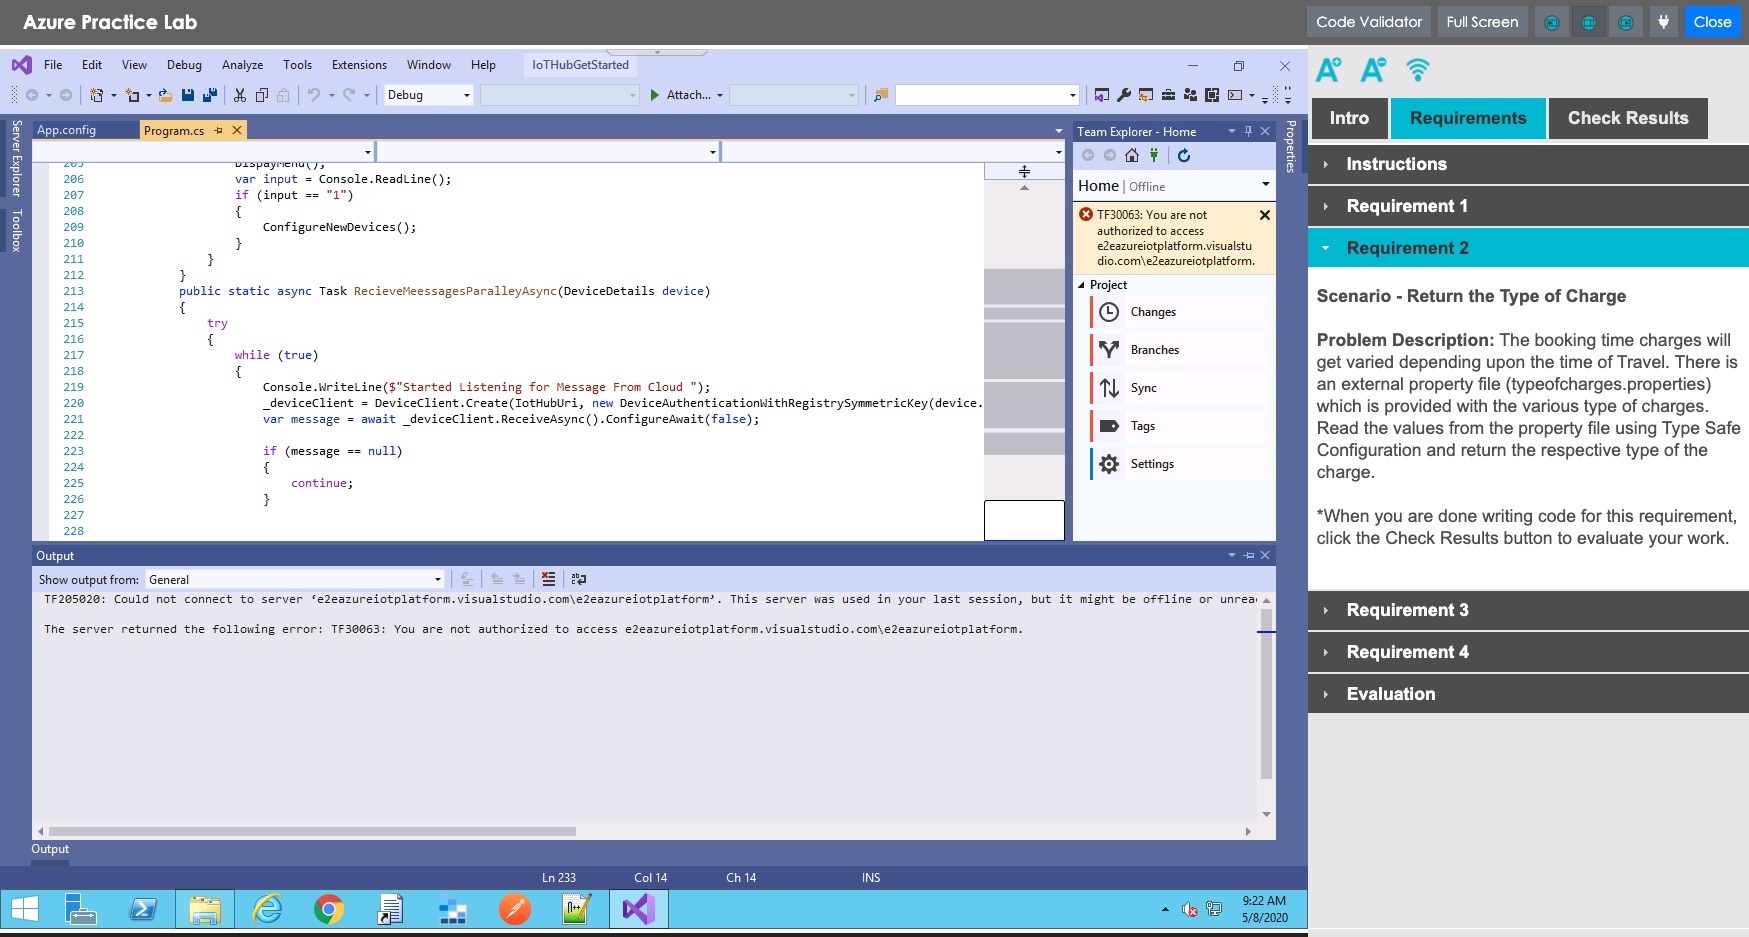 (Preview a virtual lab activity)
Step 1 - Document Lab Requirements
NOTE: You may have already documented the lab requirements in the “Design Your Online Content” skill. If so, you can skip to the step 2, “Create a Resource.”
First, you need to document instructions for the virtual lab and the tasks/requirements the learners will need to complete it. This information will appear in a “lab guide” the learners will refer to during the activity. You will also document the software requirements for the lab itself (software engineers will use this information to configure the lab).
Download the Virtual Labs Design template and then follow the steps below.
DOWNLOAD: Virtual Labs Design Template
Step-by-Step Instructions
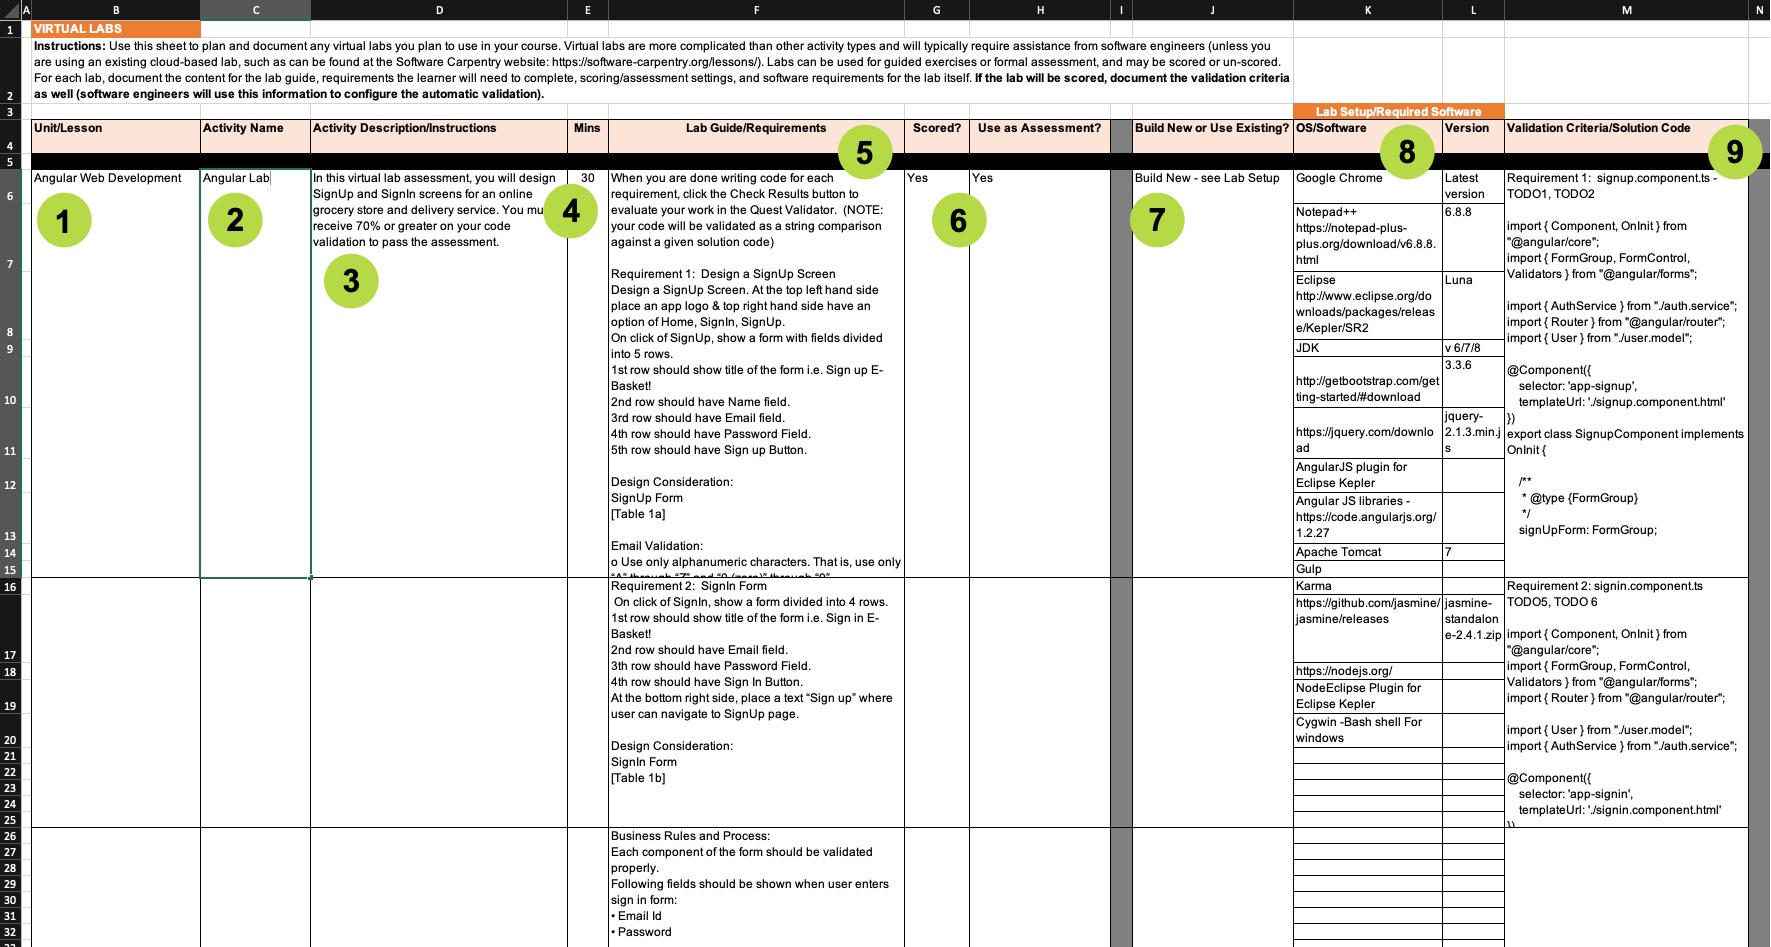
Open the Virtual Labs Design Template and read the instructions.
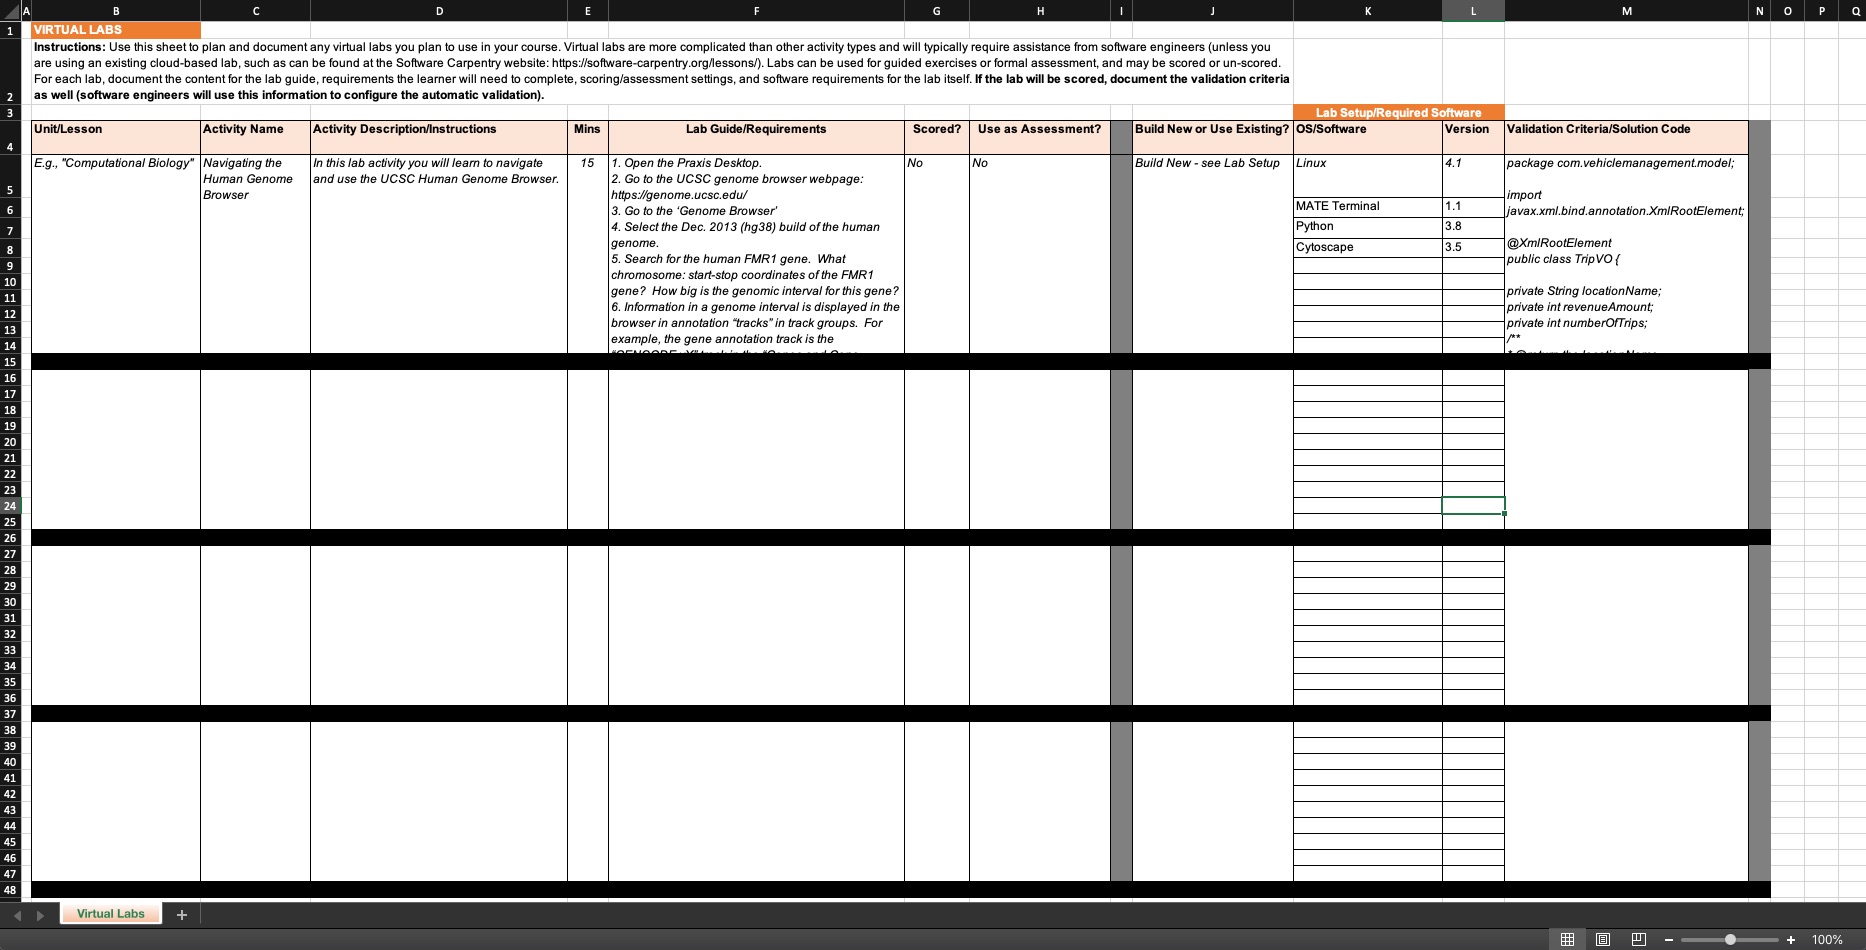
- Enter the name of the Unit/Lesson where the virtual lab will be used.
- Enter the name of the Virtual Lab activity.
- Write a description/instructions for the activity.
- Enter the activity duration (in minutes).
- Write a detailed description of the tasks/requirements learners will need to complete for the lab activity. If there are supporting media such as charts, code snippets, or images, indicate their filenames and where to display them.
- Indicate if the virtual lab will be scored and used for activity.
- Indicate whether the activity will reuse a virtual lab that was already built for the course, or whether a new one will need to be built.
- If the lab is new, document the required operating system and software, including the desired versions.
- If applicable, enter the validation criteria or solution code for the learner’s work. This information will be used to configure a validation tool (if evaluation by keyword is appropriate). The criteria could be written as a detailed description of what to check for each requirement, or simply the desired product or code.
Continue to Step 2.
Step 2 - Create a Resource for the Virtual Lab Activity
In this step you’ll create a resource instance in your lesson/course for the virtual lab. This will let the TILE team know where you want the lab activity to appear and what settings it should have.
Step-by-Step Instructions
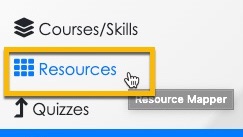
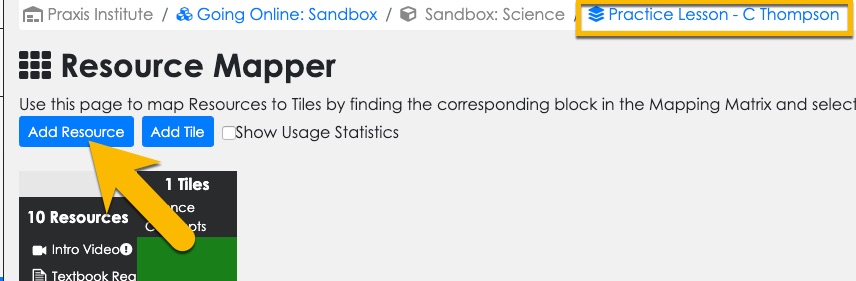
- Select the Resources option in the side menu.
- The Resource Mapper page loads. Make sure it is the right page for your practice lesson/course by looking at the breadcrumbs at the top of the screen. If your lesson/course isn't displayed, click the last breadcrumb to open the course selection screen and then select your lesson. Then select the Add Resource button.
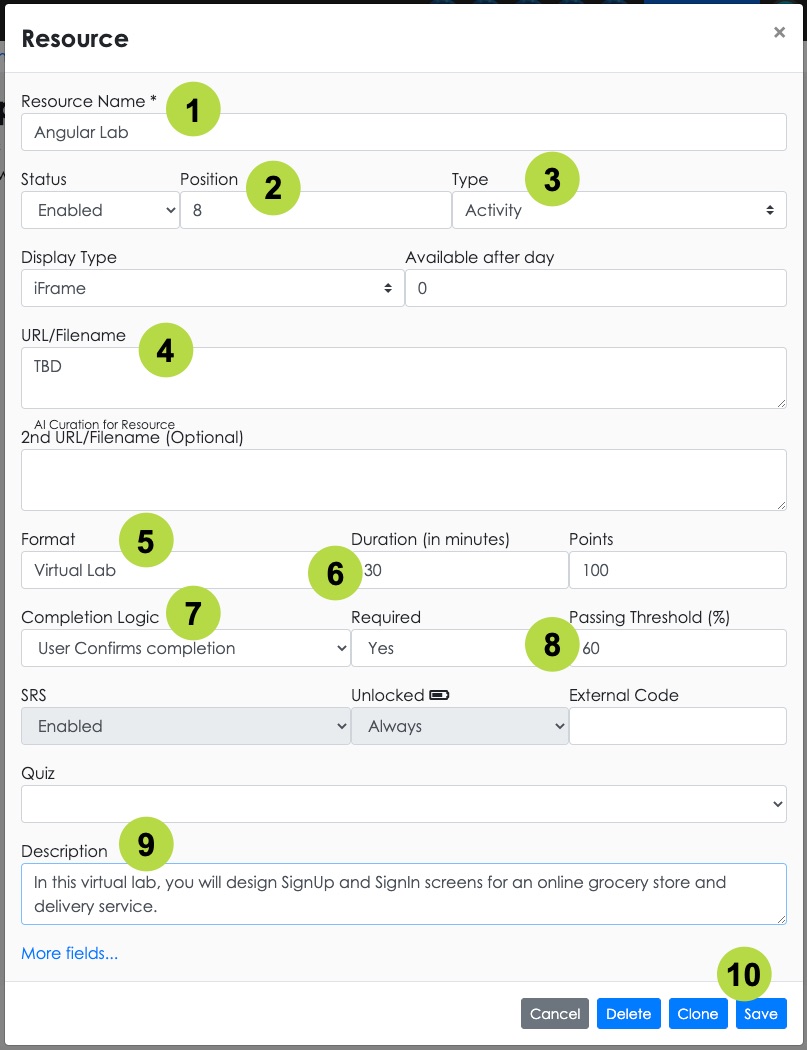
- The Resource settings panel opens. Give your lab activity a name.
- Set the Position for the activity so it displays in the right order in the lesson.
- Set the Resource Type to "Activity."
- Enter "TBD" into the URL/Filename field - the TILE team will update this later.
- Set the Resource Format to "Virtual Lab."
- Set the Duration for the activity.
- Set the Completion Logic:
- Externally Scored - if lab will be socred with a validator and have a passing threshold
- When Visited or User Confirms Completion - if lab will not be scored
- Set the Passing Threshold if the lab activity will be scored.
- Enter a brief Description of the activity. Learners will see this description in the course interface.
- Select Save when you are ready.
Continue to Step 3.
Step 3 - Create a Lab Guide
The final step is to create a lab guide for the lab activity using the My Content tool in TILE composer. To do this, just download the guide below and then follow the instructions in the document.
DOWNLOAD: How to Create a Lab Guide
You can also watch this video for a visual example of how to do this.
(back to top)