Test Resources: Overview

Testing resources involves three main steps:
- Launch course in the learning Portal and launch/complete each resource, taking note of any issues that will need to be corrected
- Open TILE Composer and make revisions and edits where necessary
- Launch course again as a learner to confirm the fixes
You will follow these basic steps whether you are testing a regular resource or an AI-generated resource. Click the appropriate tab for detailed guidance on testing steps.
Overview
“Regular” resources include any non-AI resource (e.g., videos, PDFs, web articles, tutorials, etc.). To test each resource, you will check the following:
- Launch
- Completion
- Title and Description
- Information (Duration, Type, etc.)
- Thumbnail Image
Watch this video for a quick example of how to test your resources in the learning Portal and then fix any issues in Composer. You can also follow the Step-by-Step instructions in the sections below to test resources, make corrections, and confirm the fixes.
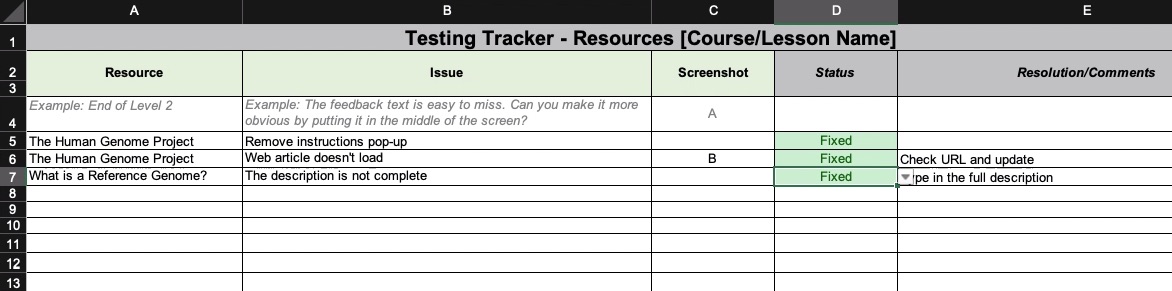
**You can use this spreadsheet tool to help you track any issues you find.**
Access the Learning Portal
Step-by-Step Instructions
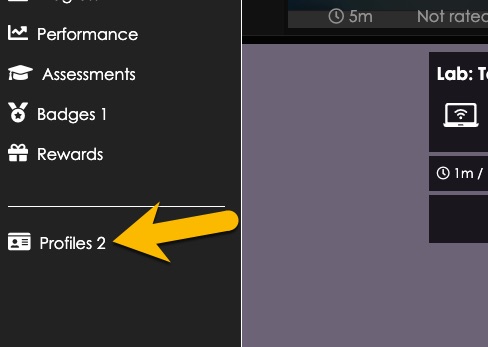
- Select the Profiles option in the side menu.
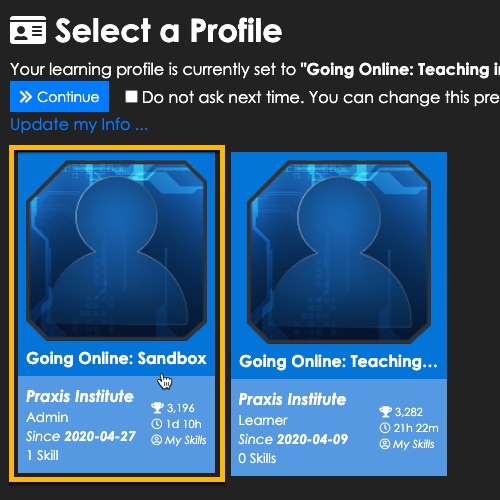
- Select the “Going Online: Sandbox” learning profile.
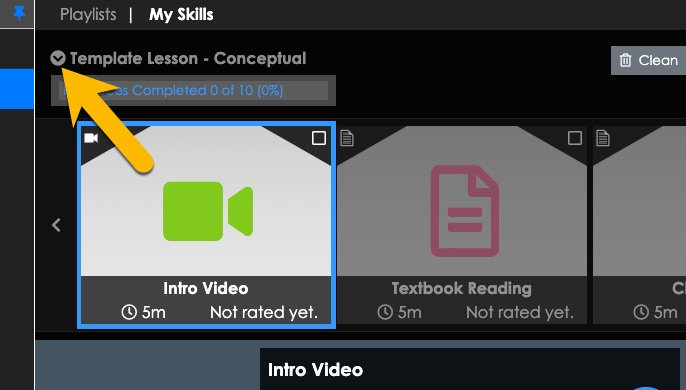
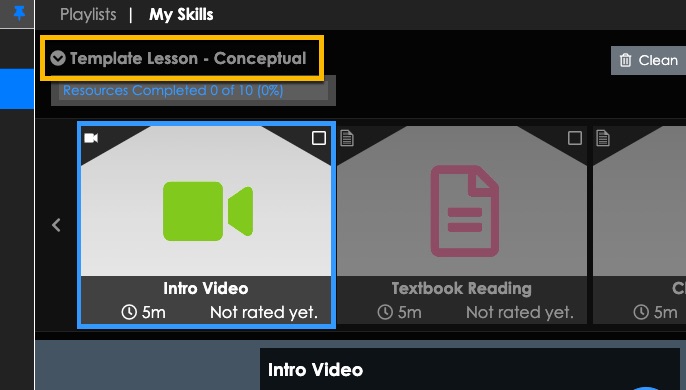
- The practice lesson/course opens. Check to make sure the lesson displayed is your lesson by confirming the Title.
- If it is NOT your lesson, follow these steps to load your lesson:
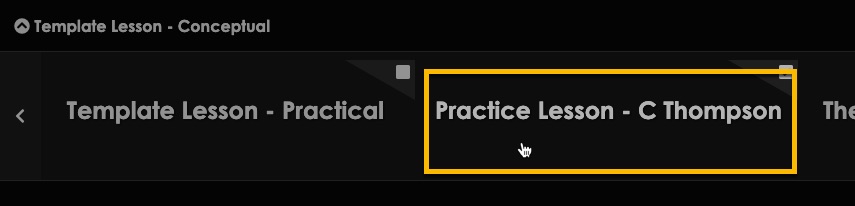
- Click the drop-down arrow next to the lesson Title
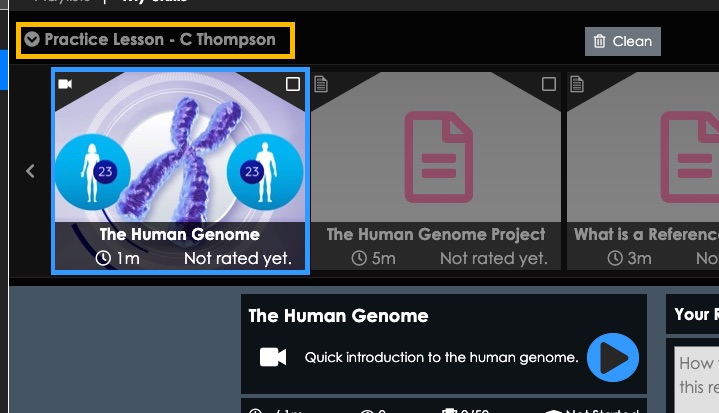
- A complete list of lessons appears in a “ribbon” interface. Select your lesson. The ribbon display collapses and your lesson is displayed.
Step 1: Test Each Resource
Step-by-Step Instructions
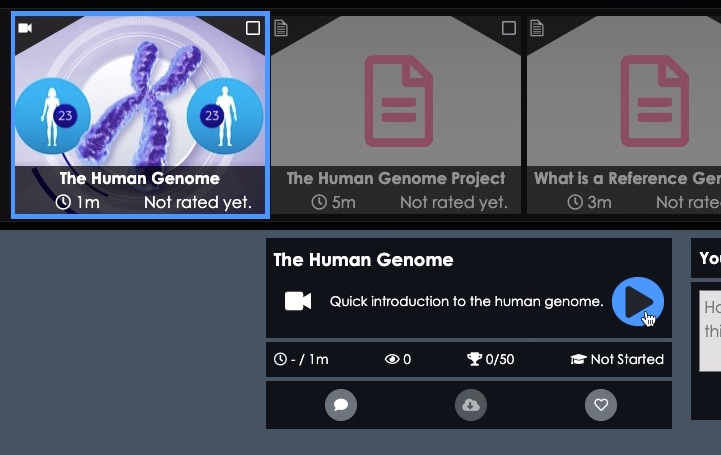
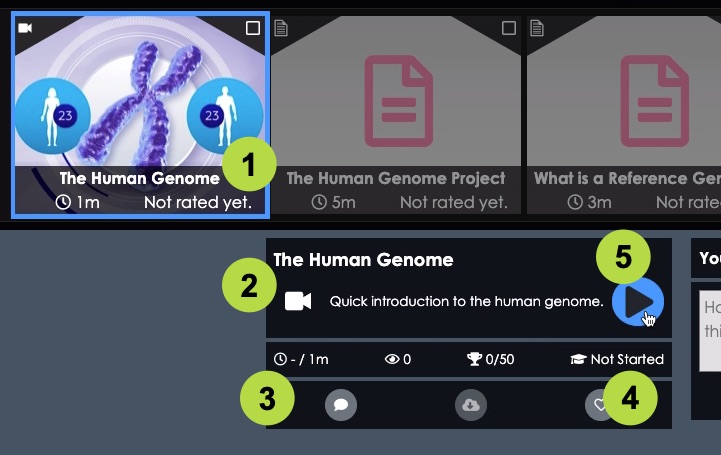
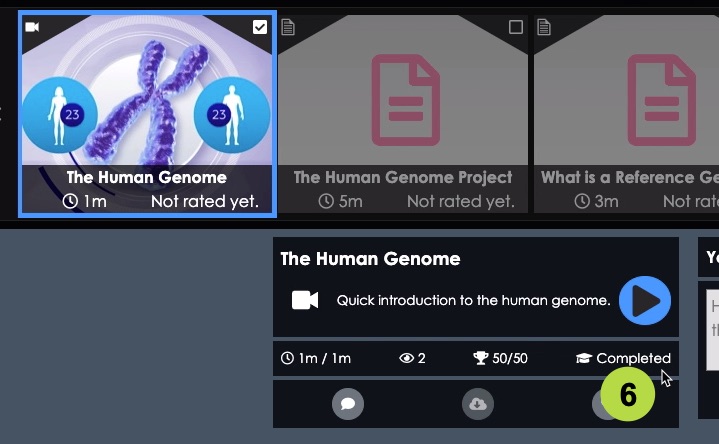
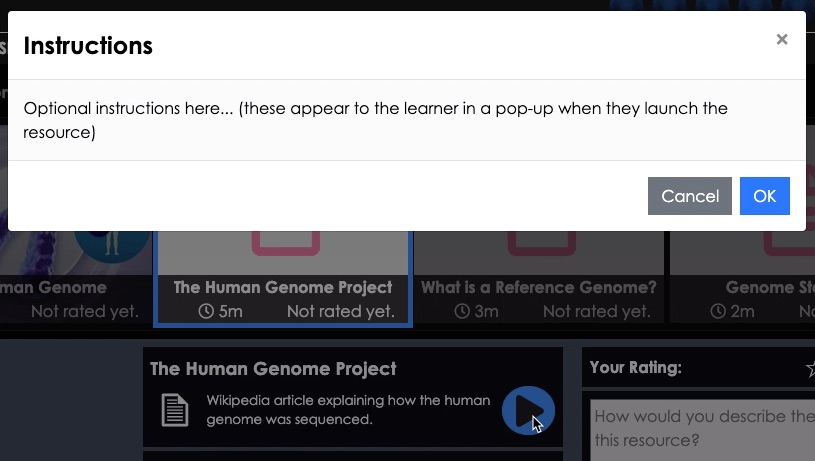
Your lesson is displayed as the learners will see it. Click the first resource in the “carousel” and look at the following:
- Check that there is an image thumbnail in the carousel representing the resource. (NOTE: you don’t have to have an image here, but it does give the learner a “preview” of what they’ll see in the resource and also adds visual interest to the environment.)
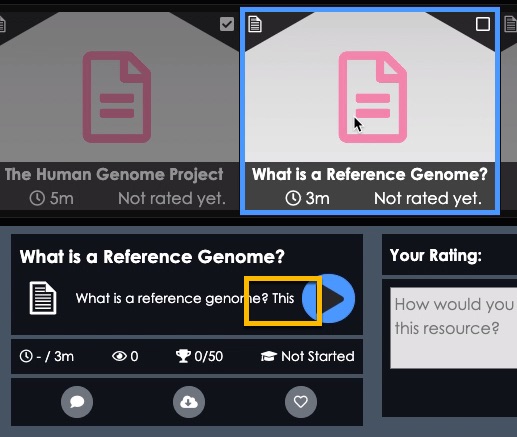
- Check the Name, Type (shown as an icon), and Description of the resource. Note anything that needs to be changed (using the optional tracking spreadsheet if you choose).
- Check the resource Duration. Is it accurate? (Make a note of the time and see how it compares to the time it takes you to actually complete the resource. (The duration does not need to be exact, but should be representative of typical completion times.)
- Check the Completion Status – it should say “Not Started” if you have not previously launched the resource.
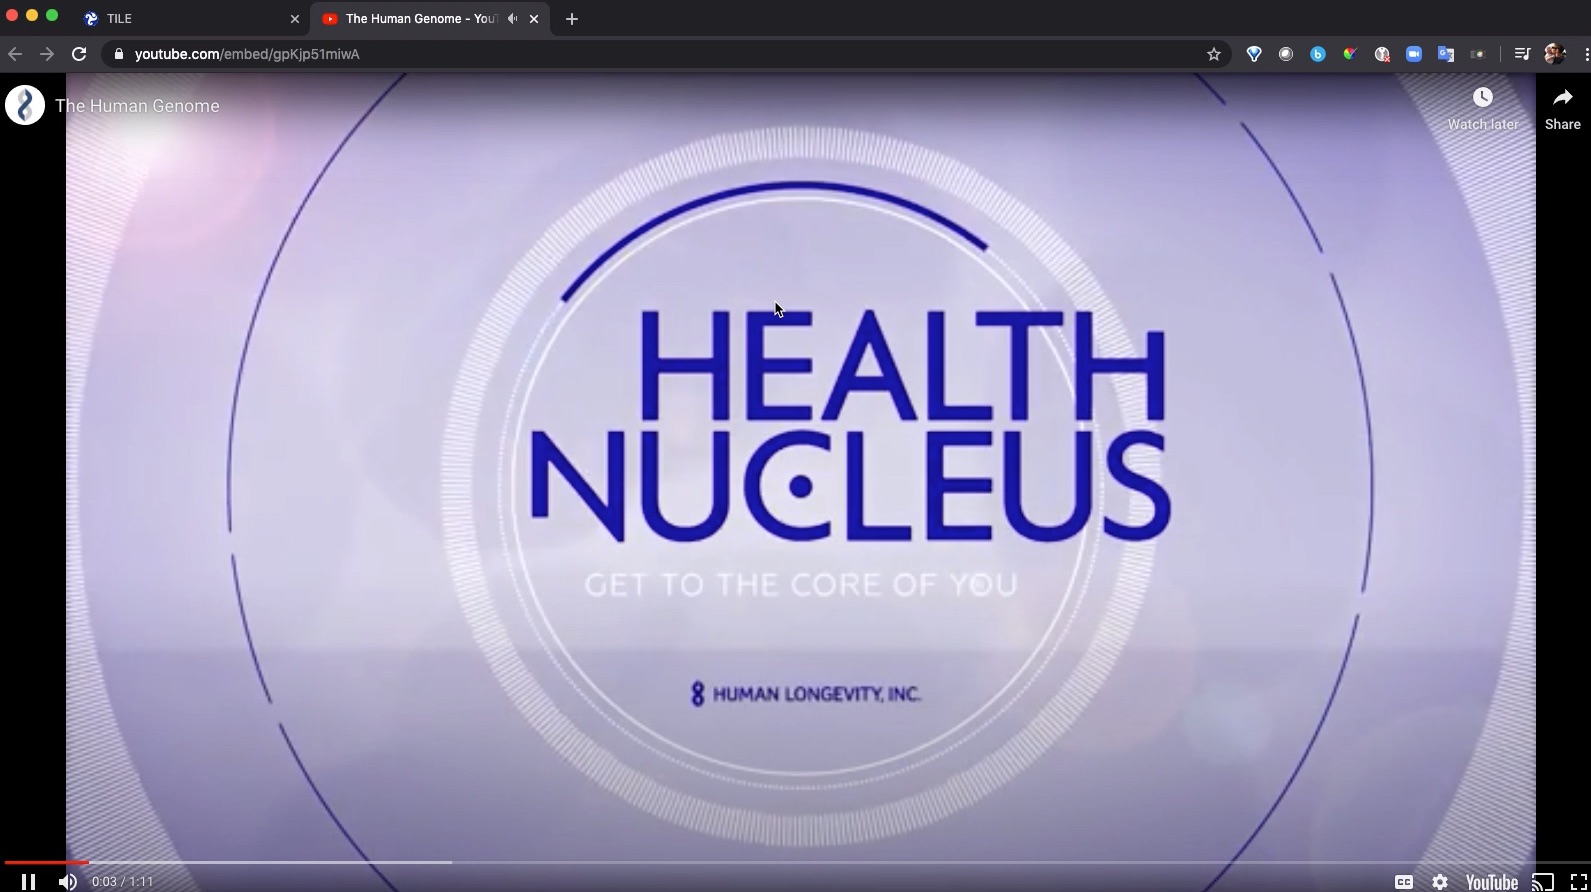
- Click the Play button to test if resource launches properly.
- The Completion Status should update properly after you complete the resource.
Repeat steps 1-6 for each learning resource in your lesson, noting any issues that need to be fixed. Typical issues include:
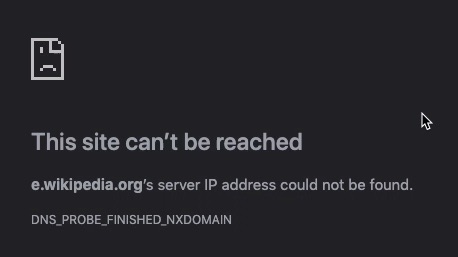
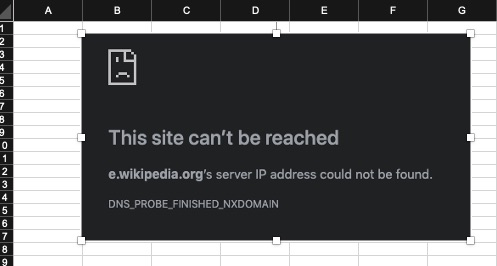
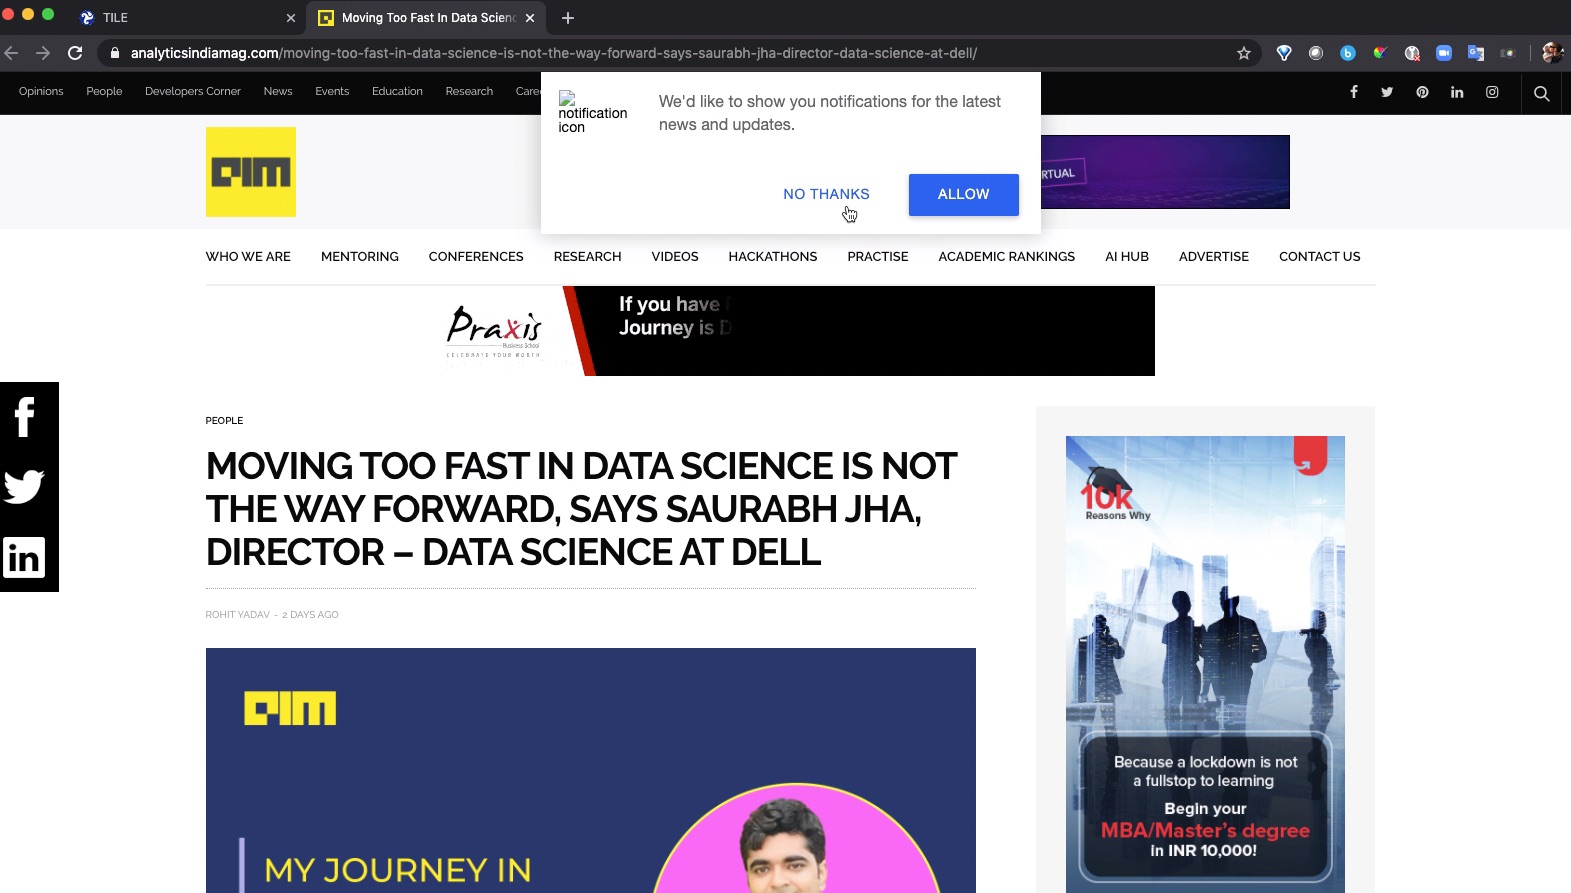
- Resources that don’t load (usually due to an incorrect URL address)
- Typos or other text issues in the resource title or description
- Errors in the resource instructions, missing instructions, or instructions that are not needed
We recommend you record any issues you find – this helps ensure that you remember what needs to be fixed when you go back to Composer. (You can use the optional tracking spreadsheet provided earlier, a piece of paper, or whatever method you prefer.) It may be helpful to take screenshots of certain issues.

 (back to top)
Step 2: Make Revisions in TILE Composer
Step-by-Step Instructions
When you are finished testing and documenting issues, return to TILE Composer to make revisions where necessary.
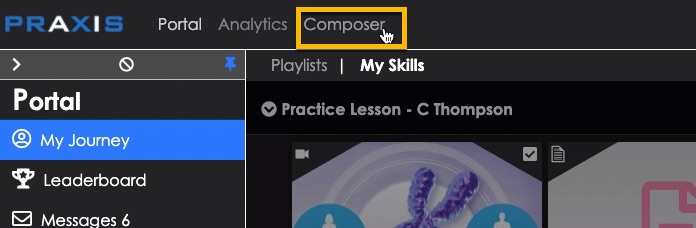
- Click the Composer option at the top of the screen.
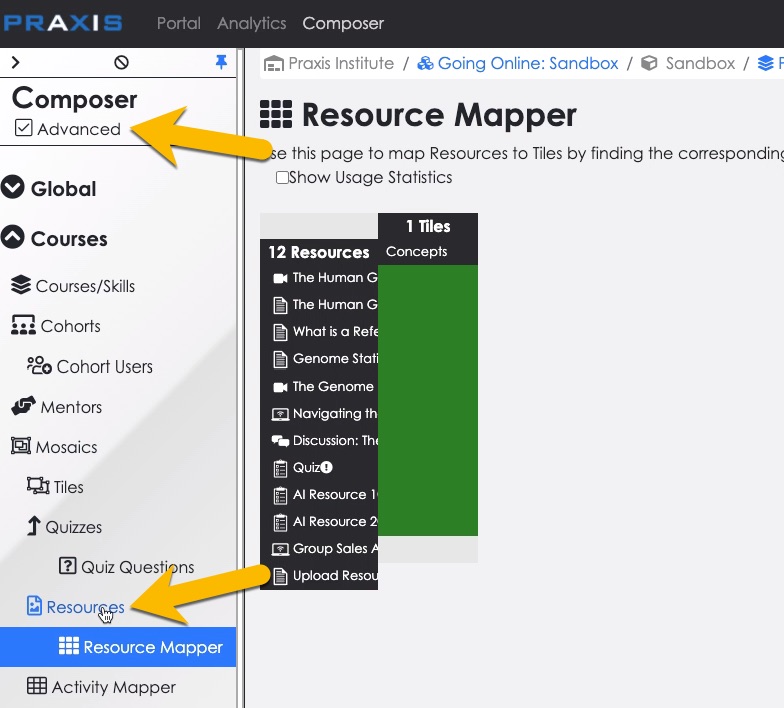
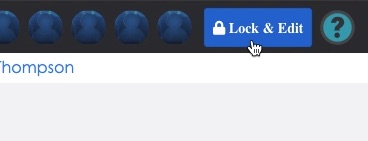
- TILE Composer opens. Select the Advanced checkbox in the side menu, then click Resources.
- Check to make sure the Lock & Edit button has been clicked.
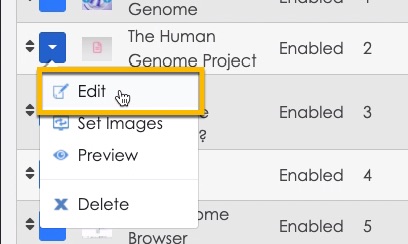
- Use the Edit option in the context menu for any resources that need revisions. Refer to the guides below for further guidance on updating resources:
If you need to update a bad URL, TILE Composer has a handy built-in feature to help you test this.
- Edit the affected resource and change the URL setting. Then Save your changes.
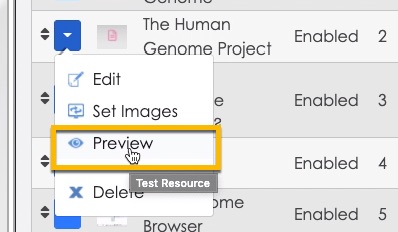
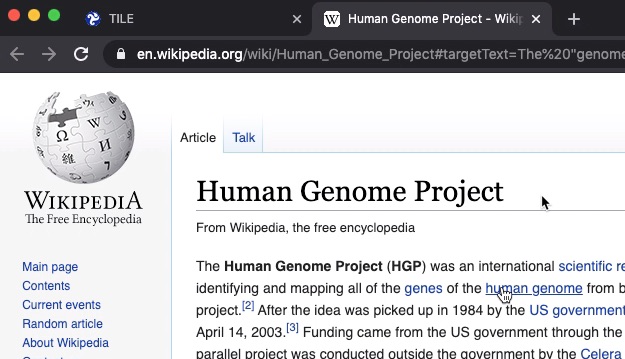
- To quickly test the new URL, without having to go back into the learning portal, just select the Preview option in the resource’s context menu.
- If the resource loads, you know the URL is good. If it doesn’t load, double-check the URL, update the settings as needed, and then try previewing again.

Step 3: Confirm Fixes in Learning Portal
Step-by-Step Instructions
Once you have made the necessary resource changes in Composer, return to the learning portal to confirm the fixes are visible and/or functioning as intended. You may wish to update your issue tracking spreadsheet as well.
You are done testing resources and can move onto other elements of your testing (e.g., activities or assessments).
Refer to the next section for a detailed list of things to check when testing resources.
Test Resource Checklist
Below is a detailed list of things to check when testing resources. You can also download an overall TILE Testing Checklist at the link down below.
- Is the Name correct?
- Is the Description correct?
- Is the Format correct? (e.g., video, document, lesson, activity, etc.)
- Does it have a thumbnail image?
- (If applicable) are the instructions correct?
- Does it launch properly?
- Does it behave properly after launch (e.g. video plays correctly, PDF displays correctly, tutorial functions correctly, etc.)
- Does it complete properly, according to its settings? (e.g., When Visited, User Confirms, Externally Scored, Proportional to Time on Task, etc.)
- Is the Completion Status correct?
- Is the Duration accurate?
- Are there any typos or other problems with any of the onscreen text?
DOWNLOAD: TILE Testing Checklist
Overview
In general, testing an AI resource is the same as testing a regular resource. You are mainly checking to make sure it launches correctly and that it has the right name, description, etc. (For guidance on testing these elements, refer to the previous tab.)
There are two main additional elements that you will want to check for AI resources:
- AI-curated content is present
- AI content is good/relevant
Watch this video for a quick example of how to test your AI resources in the learning Portal and then fix any issues in Composer. You can also follow the Step-by-Step instructions in the sections below to test these resources.
**You can use this spreadsheet tool to help you track any issues you find.**
Step 1: Test Each AI Resource
Step-by-Step Instructions
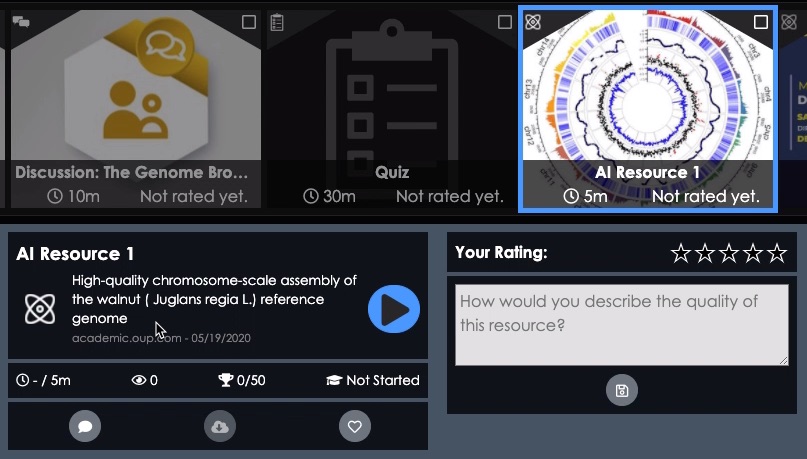
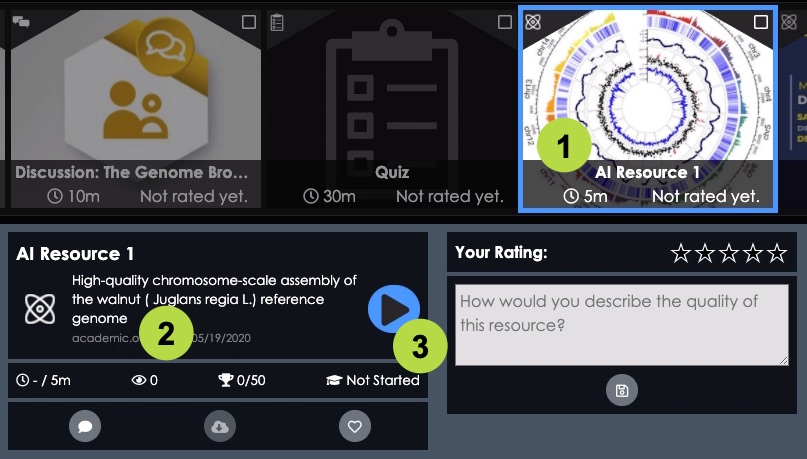
Go to the learning portal and load your practice lesson. Click the first AI resource in the “carousel” and look at the following:
- Check that there is an image thumbnail in the carousel representing the resource. NOTE: AI thumbnail images are automatically generated by the AI curation feed (so you don’t have any control over whether an image appears).
- Check to make sure the resource Description is there. NOTE: the description is also automatically generated by the AI feed.
- Click the Play button to test if resource launches properly. Also check to see if the AI resource is showing content you feel is beneficial and appropriate.

Repeat steps 1-3 for each learning resource in your lesson, noting any issues that need to be fixed.
If an AI resource is not generating content you feel is appropriate (e.g., off topic, too many ads, etc.) make a note of it in your issue tracker – you can address it by changing the AI curation settings in TILE Composer (see the next section).
Step 2: Make Revisions to AI Curation in TILE Composer
Step-by-Step Instructions
When you are finished testing AI resources and documenting issues, return to TILE Composer to make revisions to the AI curation if necessary.
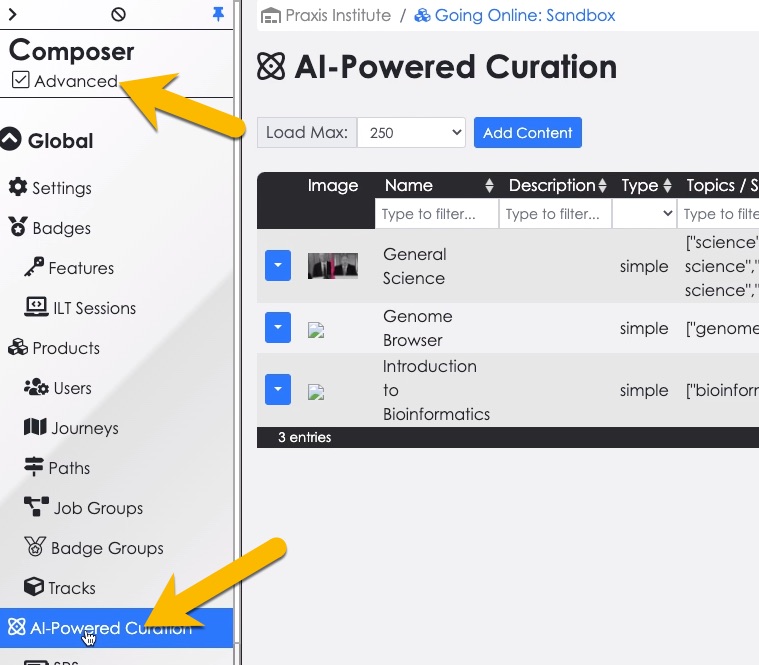
- Click the Composer option at the top of the screen. Next, select the Advanced checkbox in the side menu and then click AI-Powered Curation.
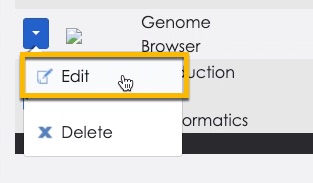
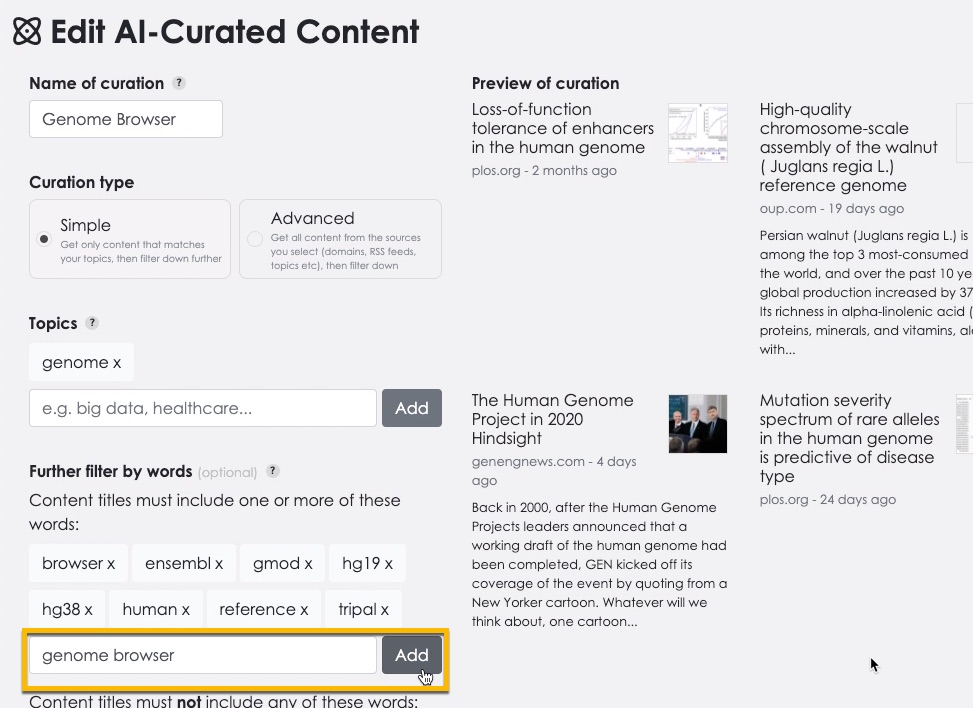
- Check to make sure the Lock & Edit button has been clicked. Then select the Edit option in the context menu for the AI curation that is mapped to the resource you want to fix. Update the curate settings as desired (e.g., add more filter words or revise/delete those that are already there). As you make edits to the curation, watch the Preview of curation on the right to see how your edits are affecting the AI results.
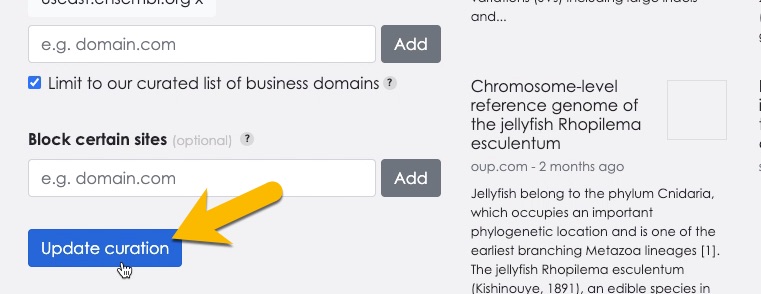
- When you are ready, click Update curation.
Step 3: Confirm Fixes in Learning Portal
Return to the learning portal to check how your updates affected the AI resource(s) in your lesson. Then repeat the AI curation revision steps if necessary.
Test Resource Checklist
Below is a detailed list of things to check when testing AI resources. You can also download an overall TILE Testing Checklist at the link below.
- Is there a (dynamically-generated) Description for the AI resource?
- Does the AI resource have a (dynamically-generated) thumbnail image?
- Does the AI resource launch properly?
- Is the AI-generated content appropriate?
DOWNLOAD: TILE Testing Checklist